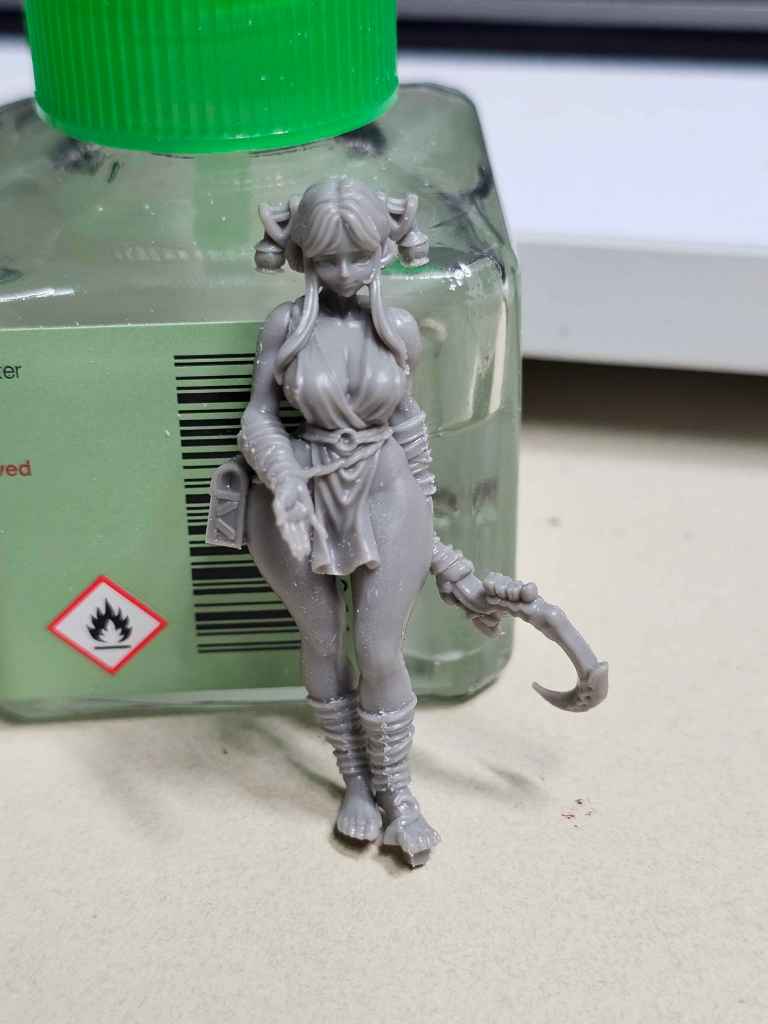
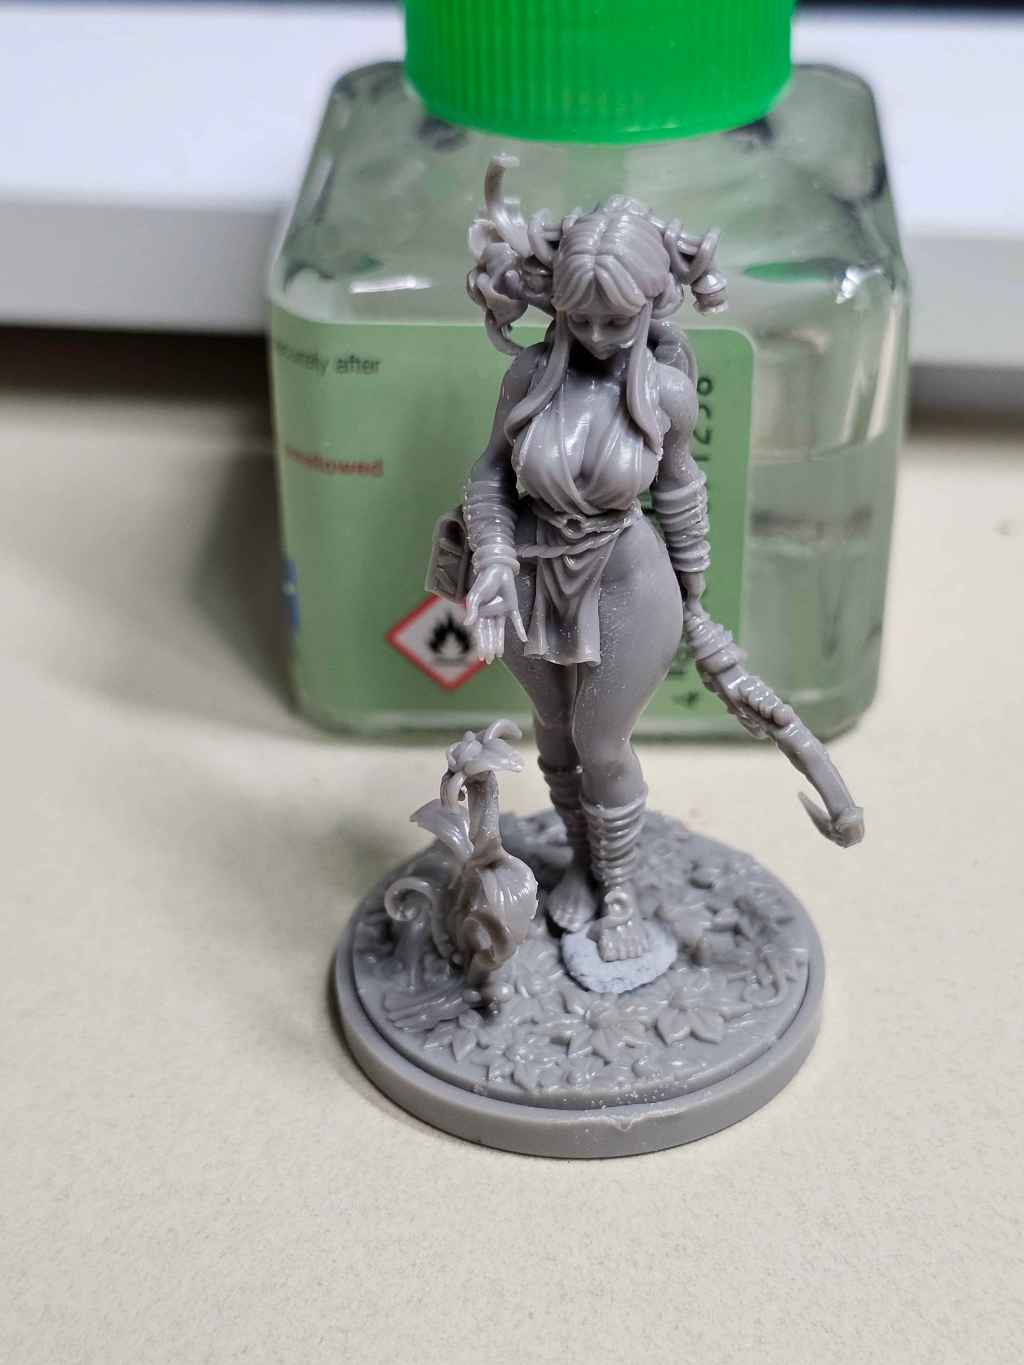
This model is honestly pretty straightforward, but since I built it, I felt it was worth a guide. What might seem simple to one person might puzzle another, and it never hurts to have more resources out there.
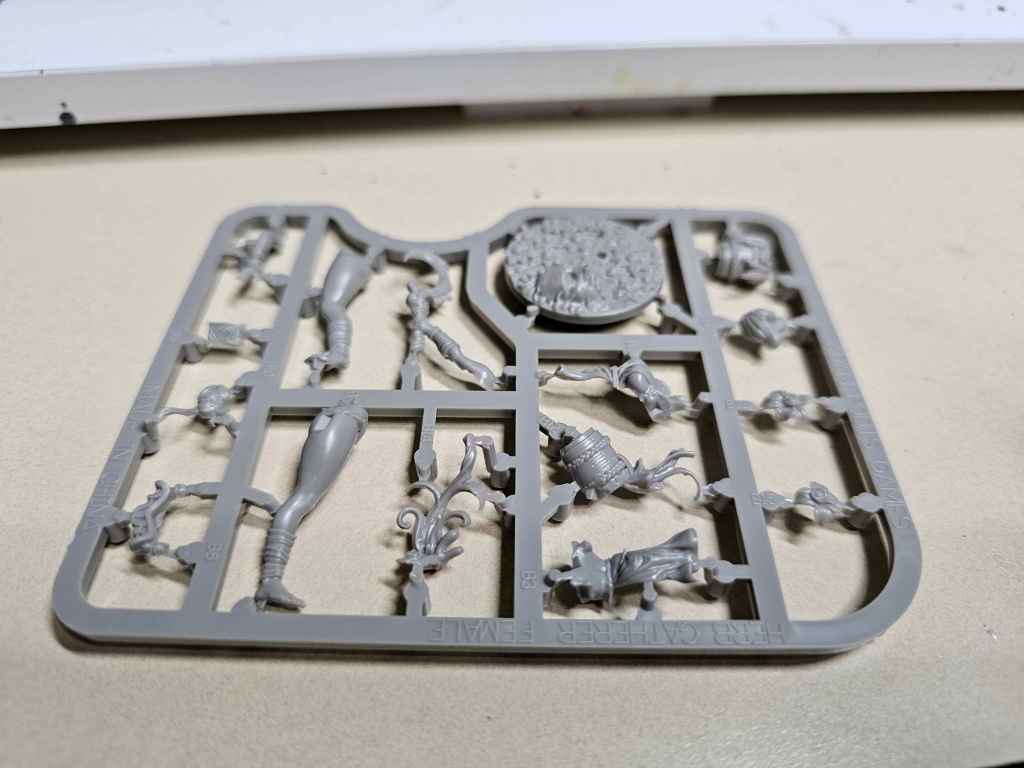
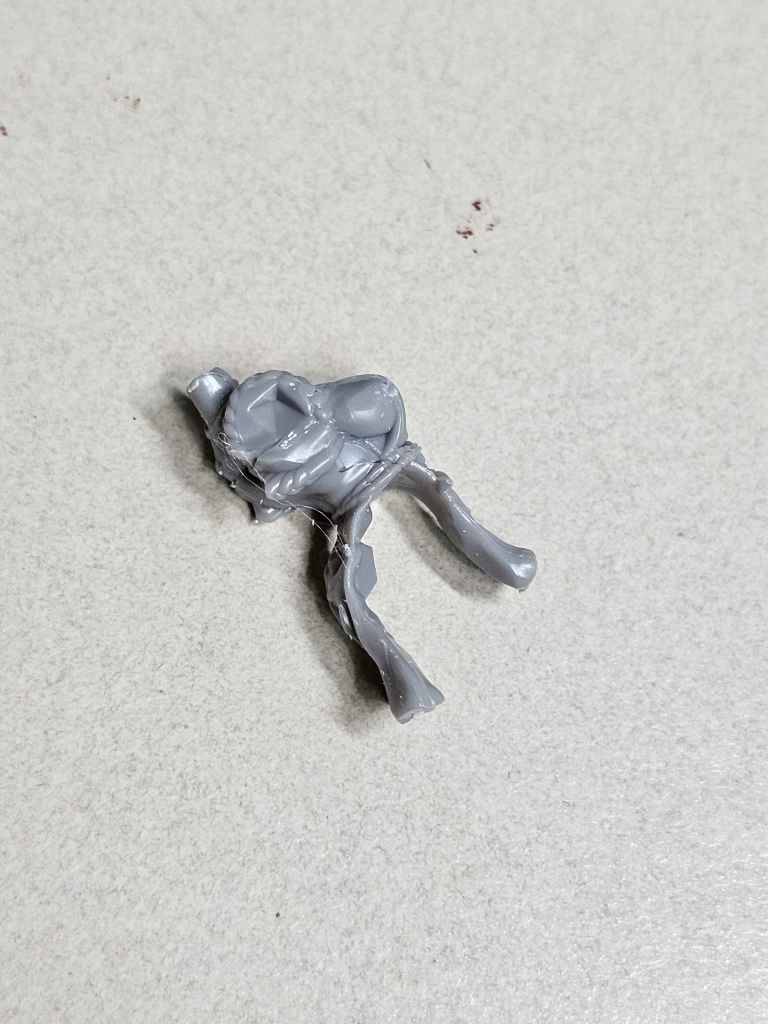
Torso/Chest
For once, I started with the torso instead of the legs – shocking, I know! There were also some sprue glue strands since I noticed a little gap, so I used a thicker glue. For the unaware, if you take plastic cement and toss in bits of extra/leftover sprue, it melts down into a thicker glue that also doubles as a gap filler. It’s pretty helpful for tiny gaps that aren’t easy to reach with putty or milliput.
Not to fret, though, legs are next!
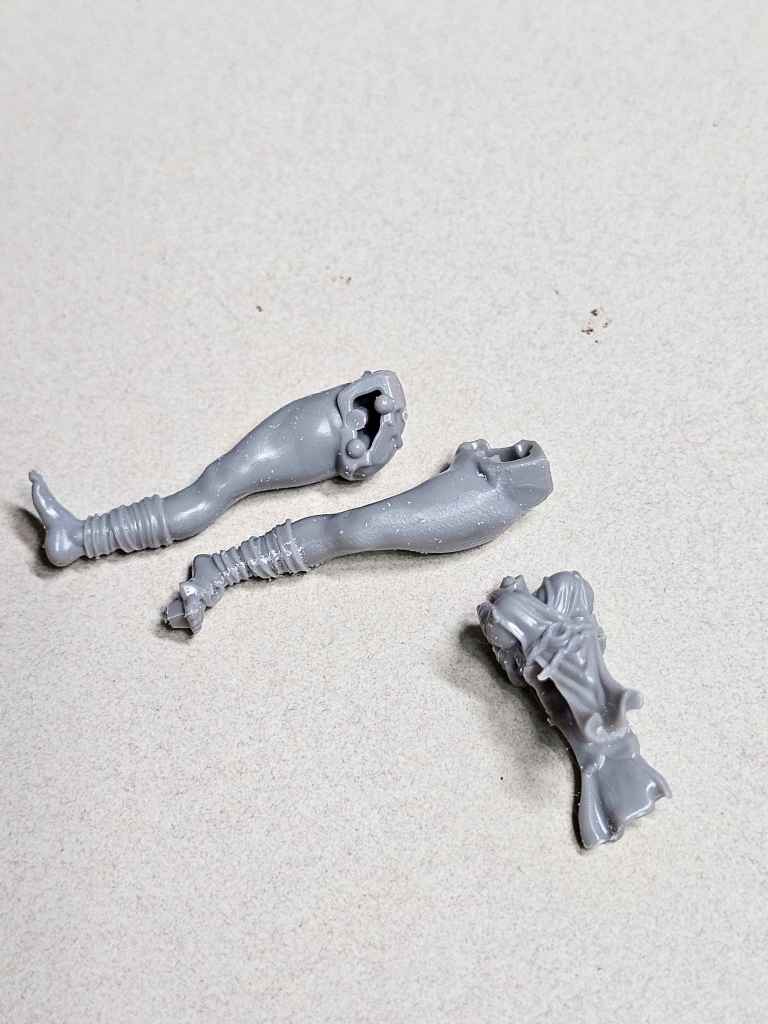
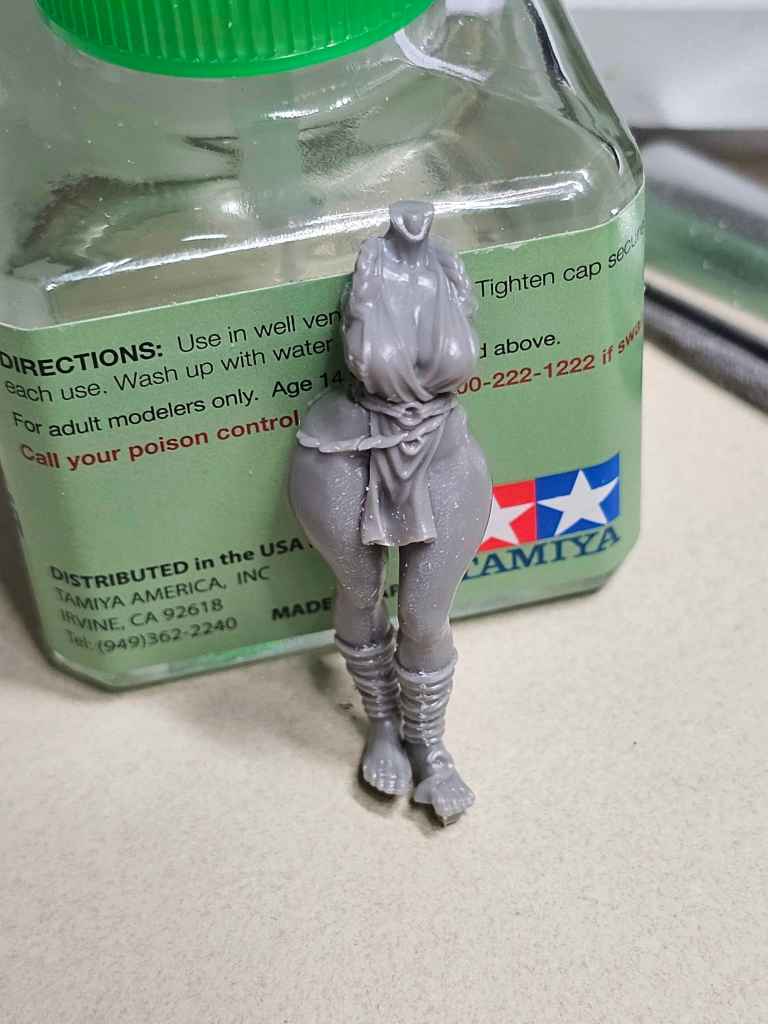
Legs
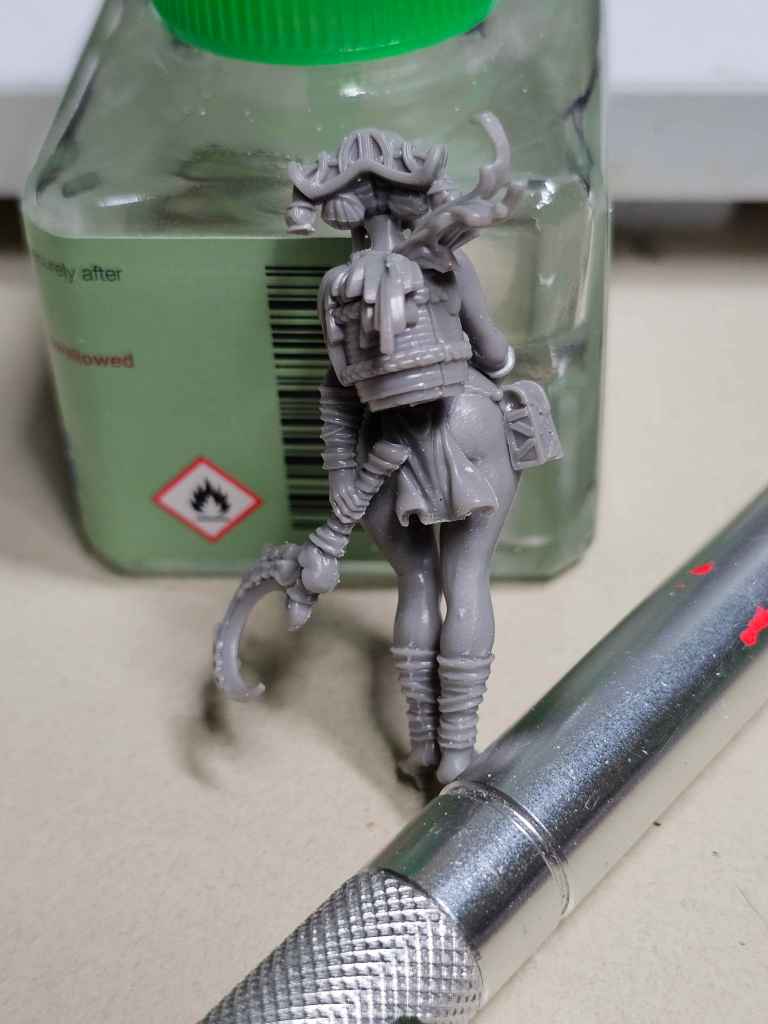
I slipped the legs into the torso, as I felt that approach gave less chance for a misaligned torso. It was also easier to slap on sprue glue to fill any gaps. I did realize after the fact that I hadn’t blown off the debris from filing mold lines, so forgive the dusty look!
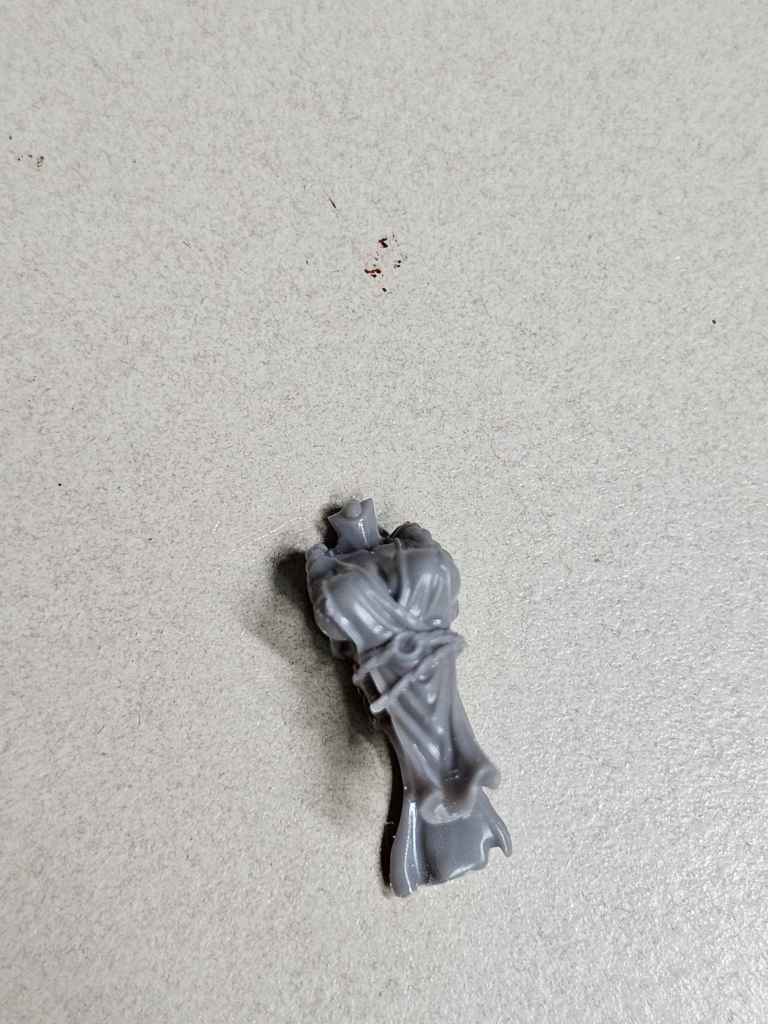
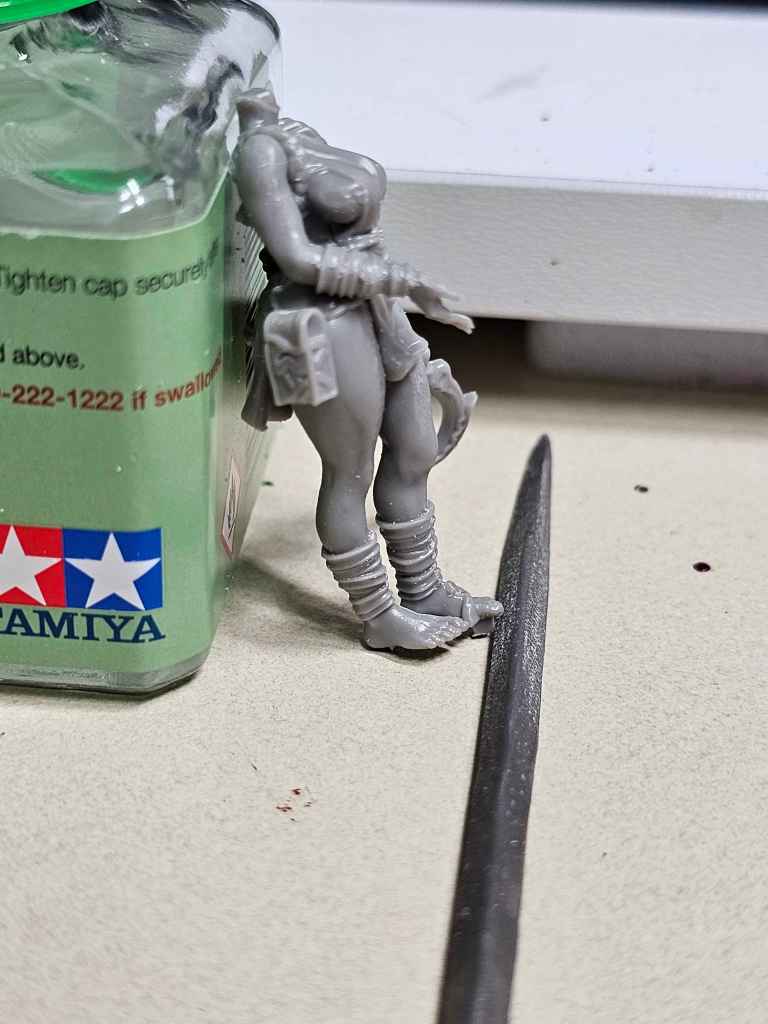
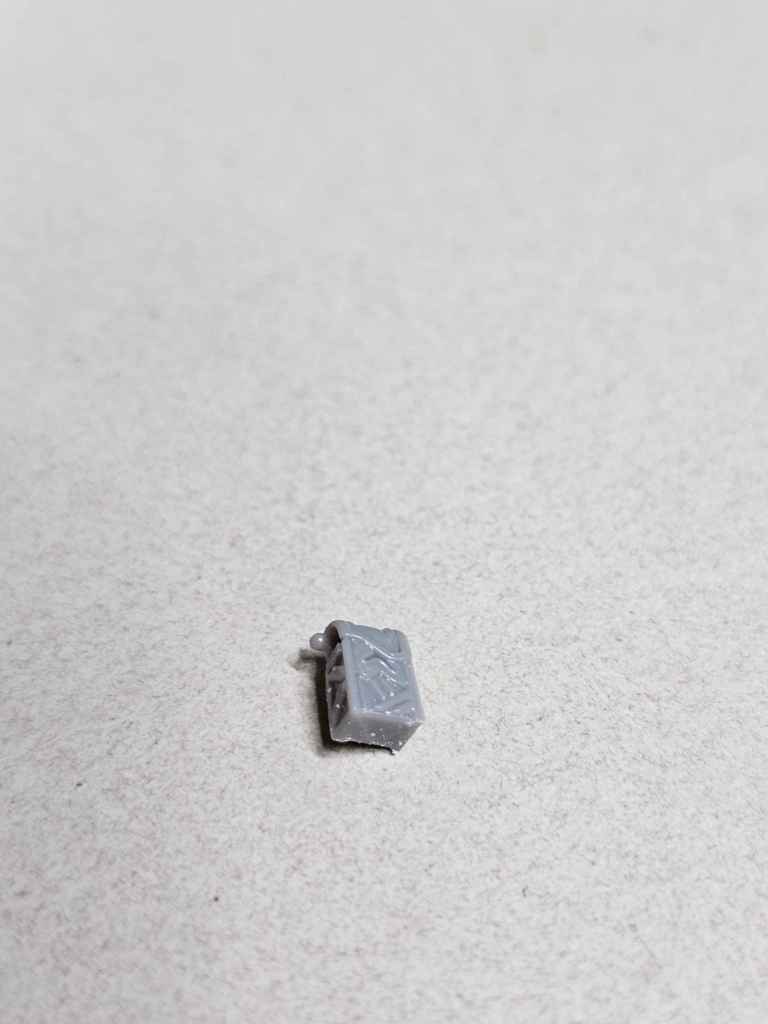
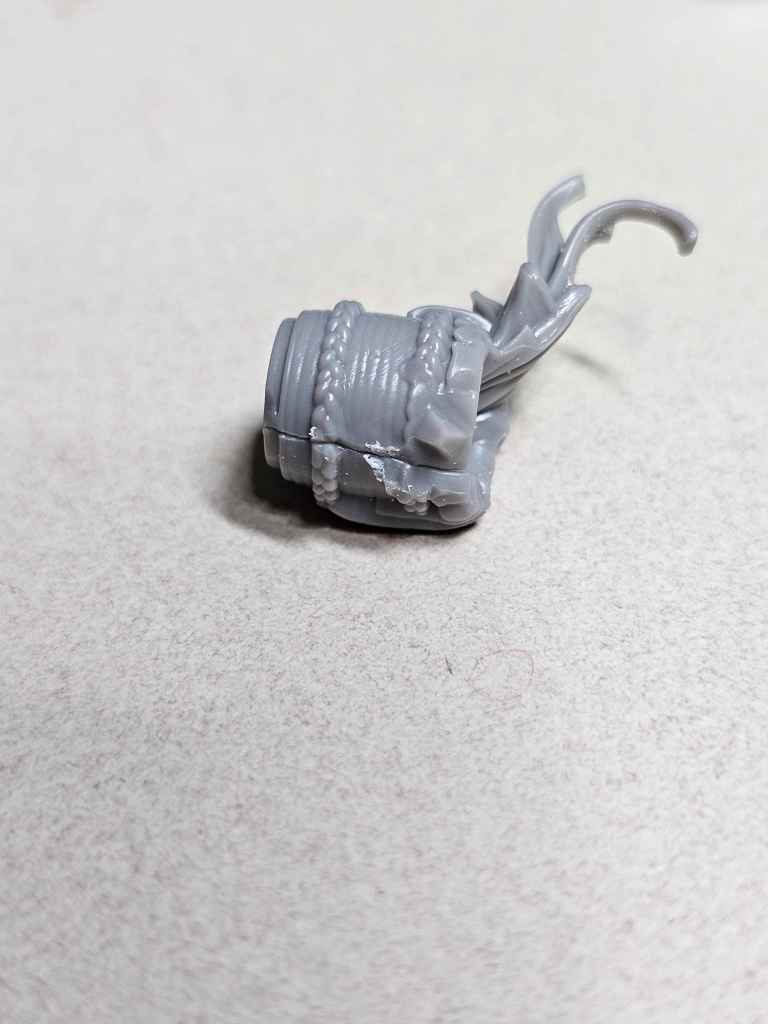
Hip Pack
Another easy placement. Honestly, the hardest part of this one was finding the pack on the sprue.
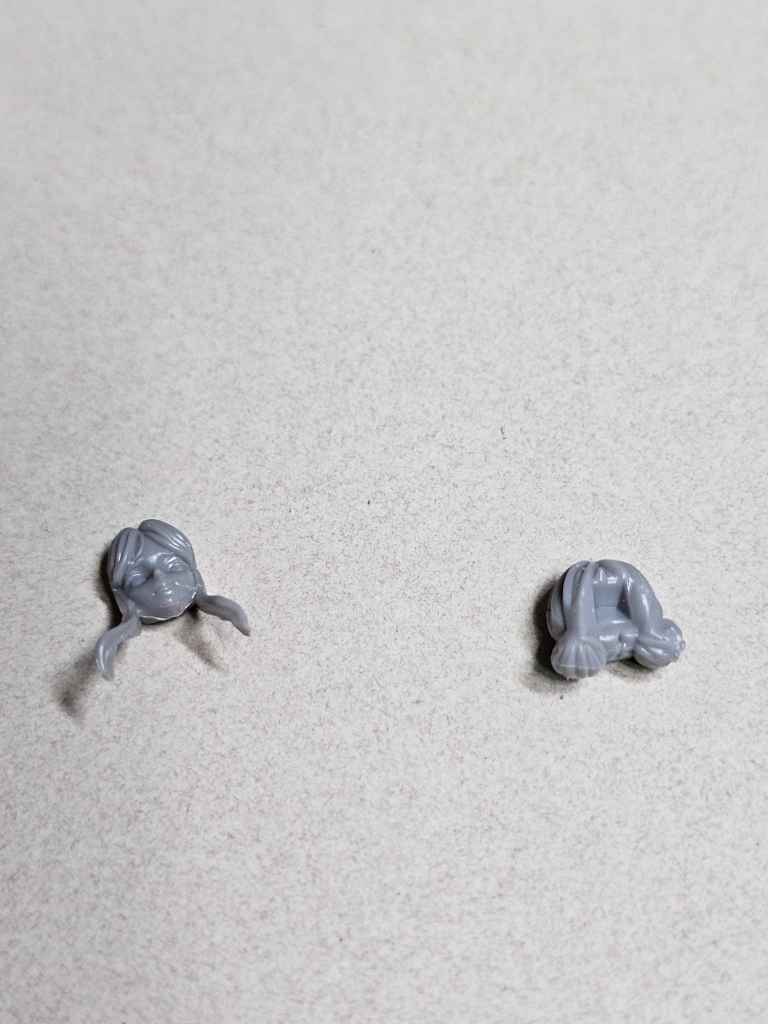
Head
Before I get ahead of myself (ha!), it’s time to put the head and hair together. There are three pieces – face, hair, and hair ornament. Pretty simple!
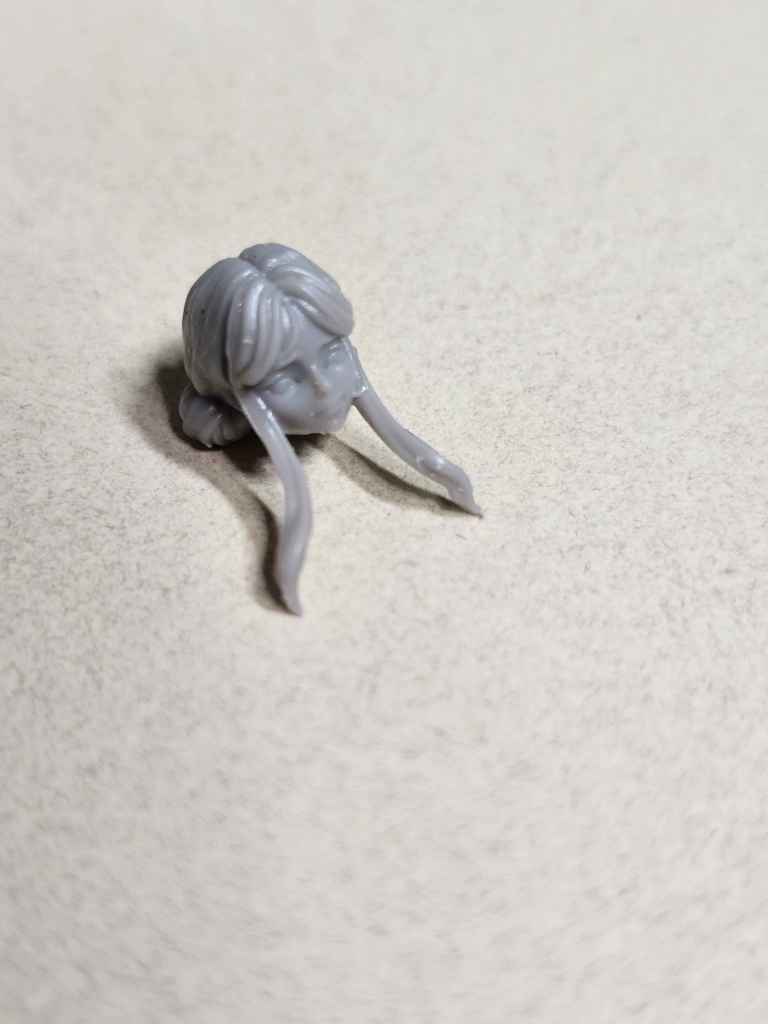
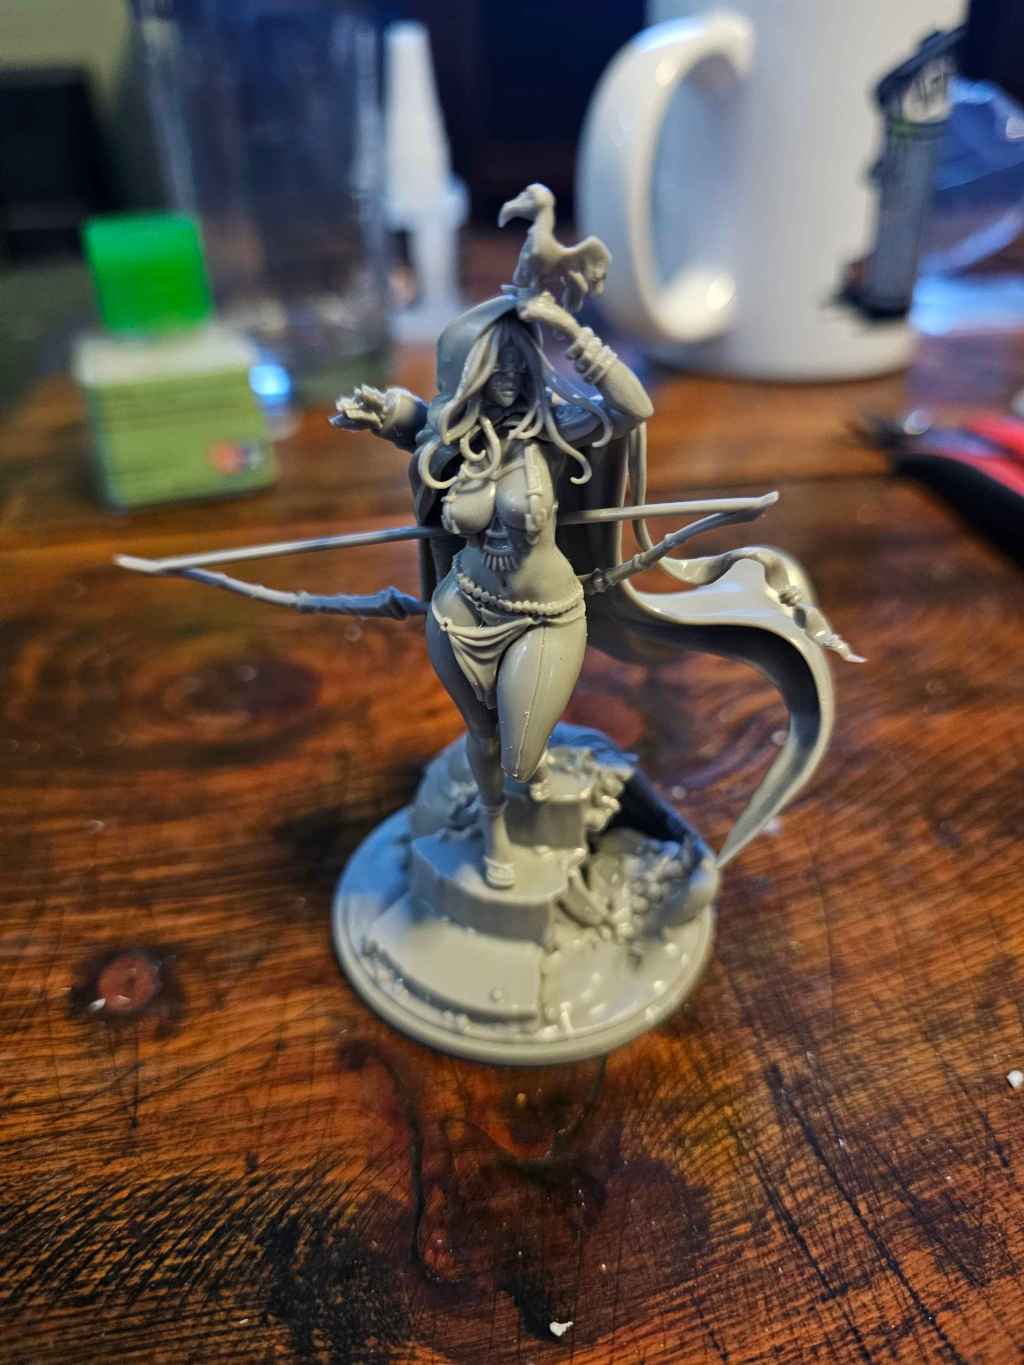
There is is, our pretty girl. I’ll have to go back through and get a bit of the remaining mold lines, but I typically give myself a break and come back to the model a little later with fresh eyes. Failing that, priming never fails to flag any I missed.
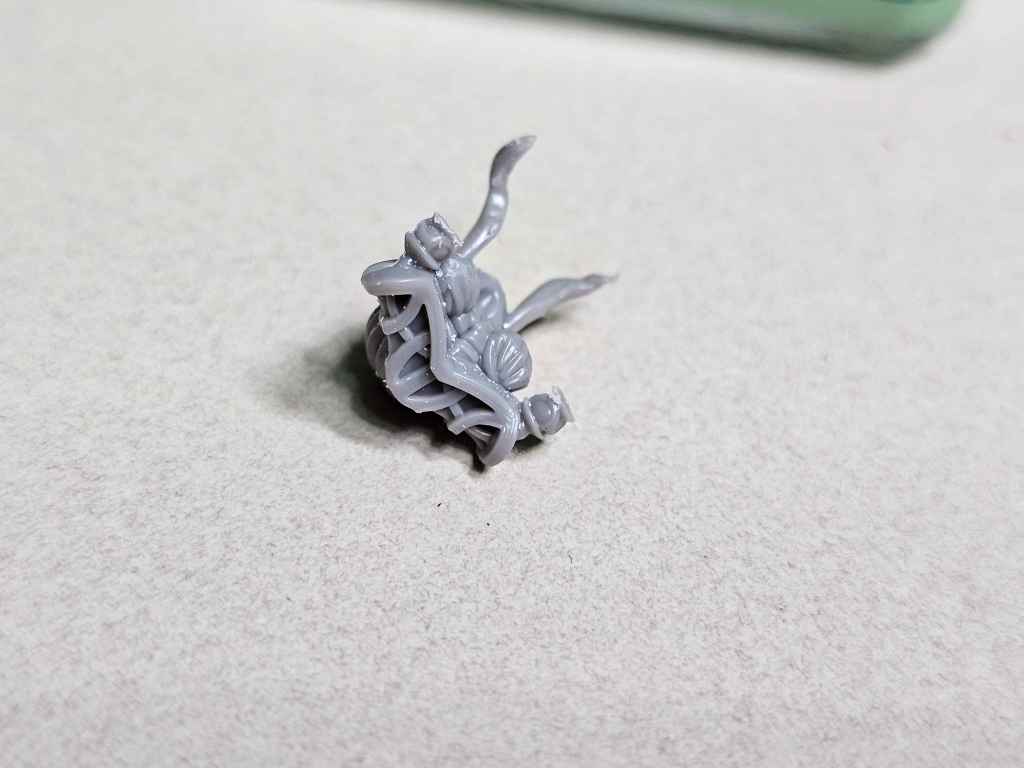
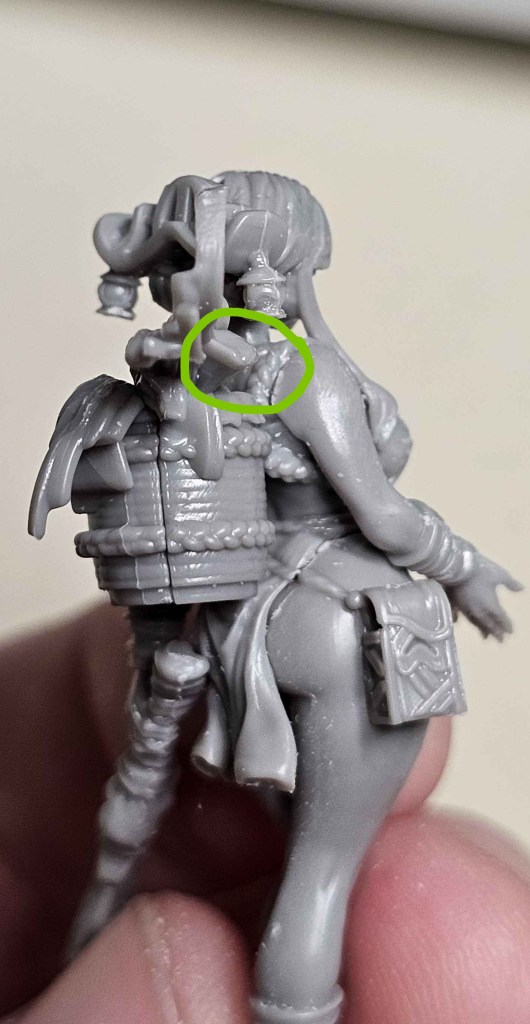
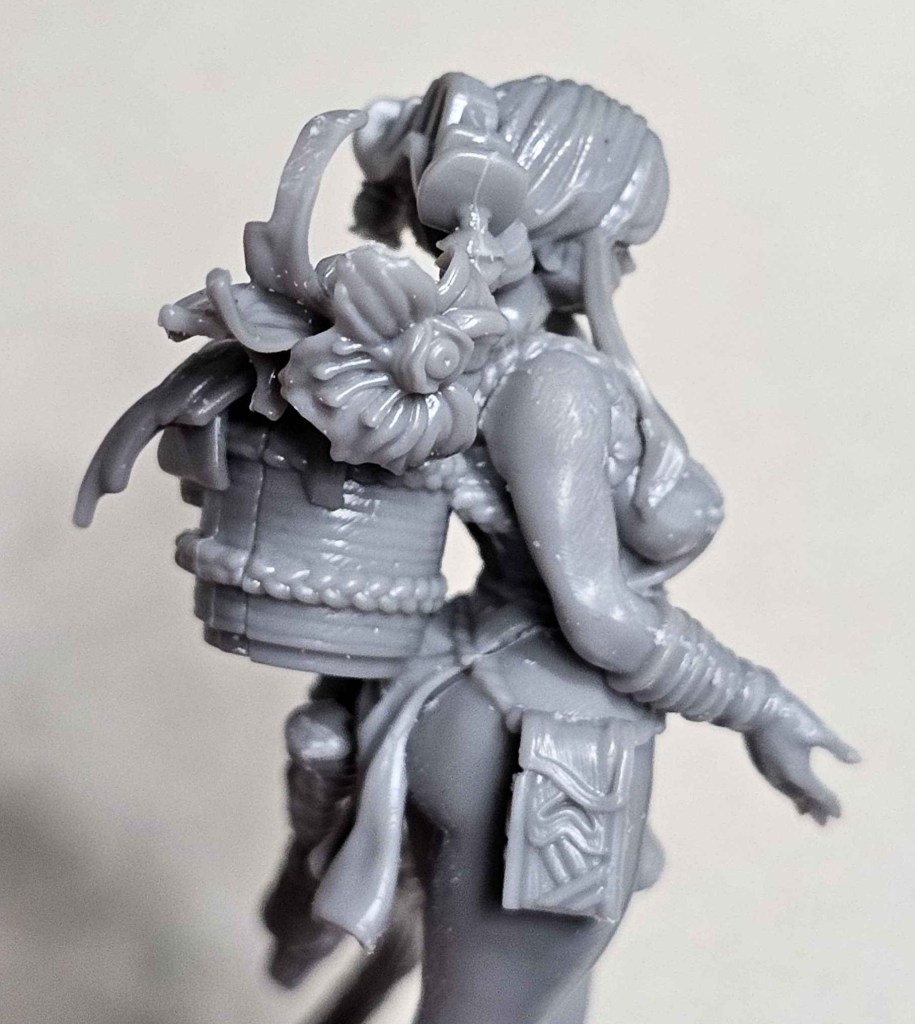
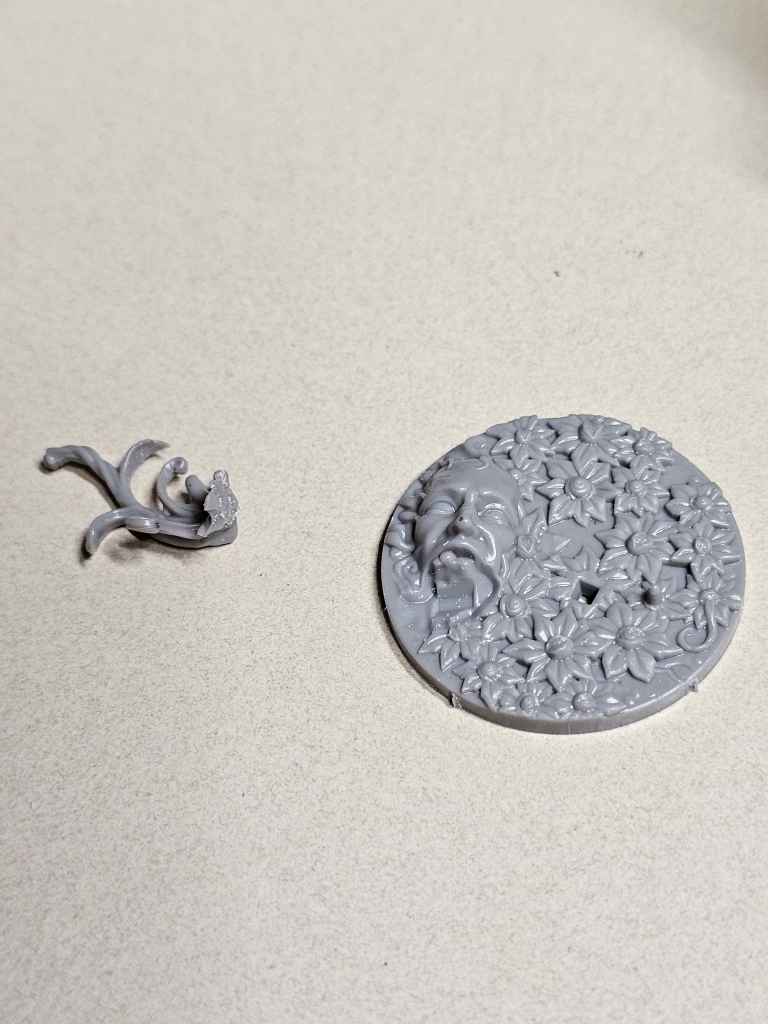
Basket and Flowers
The basket is pretty simple, though figuring out where the flower goes was a bit of a puzzle. It fit easily, but I’ve circled the stem to help with guiding. Glue the basket sides together, then attach to the divot on her back, and place the flower head on the stem.
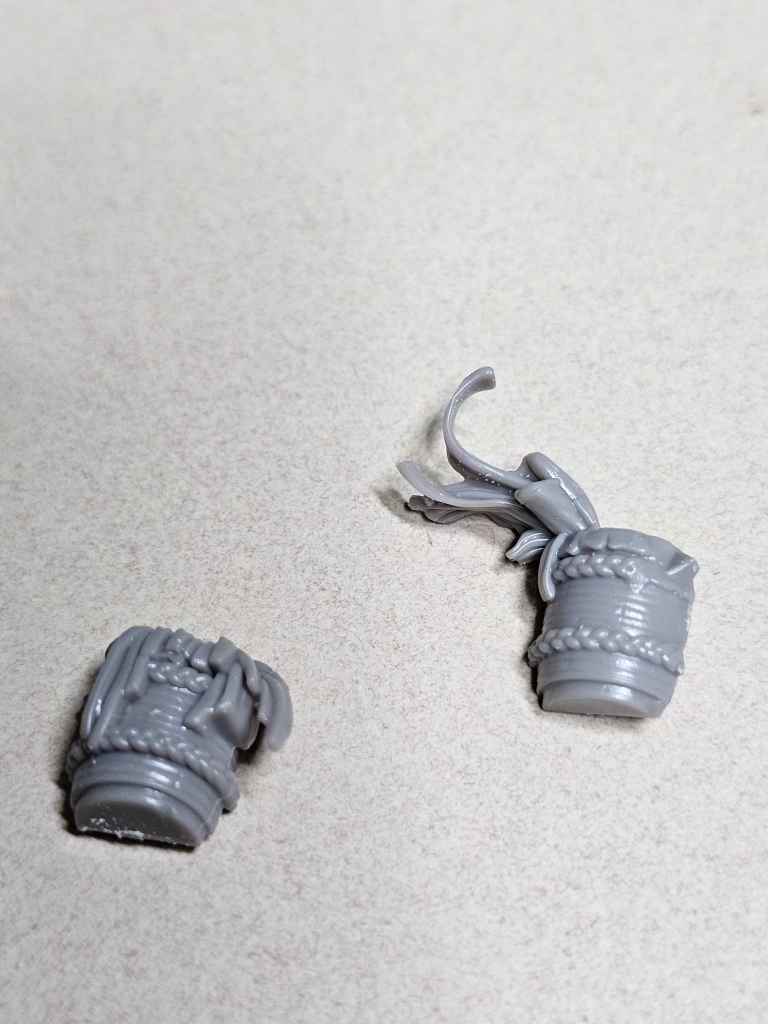
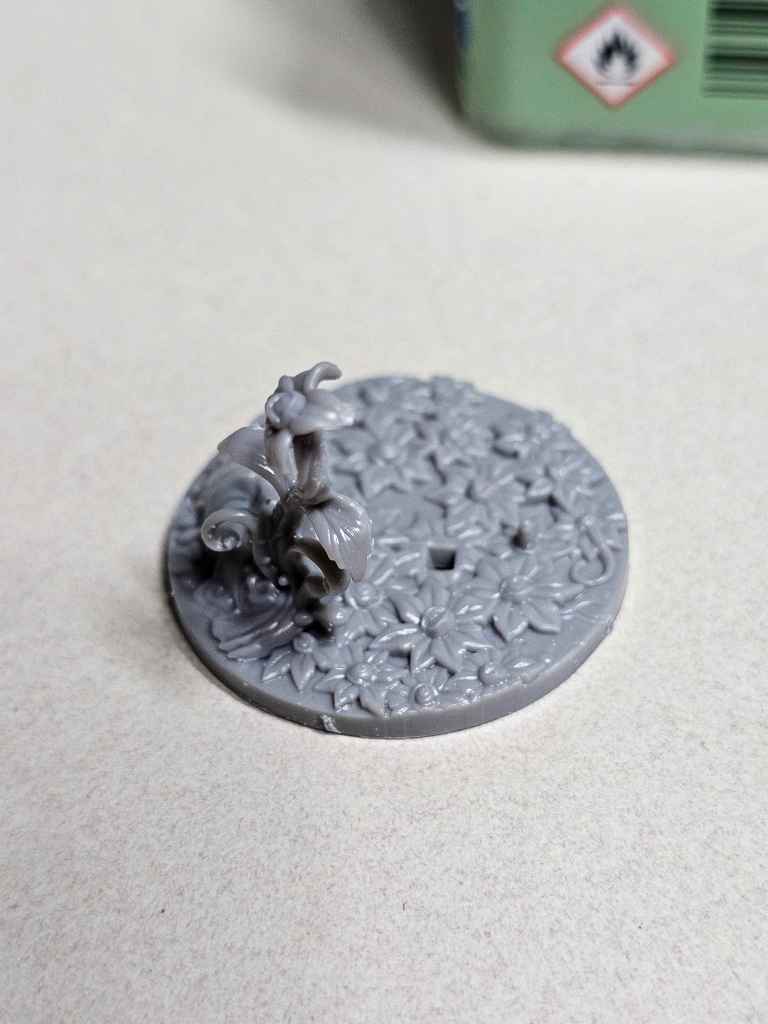
Base
Another easy one. One stem, one flower head.
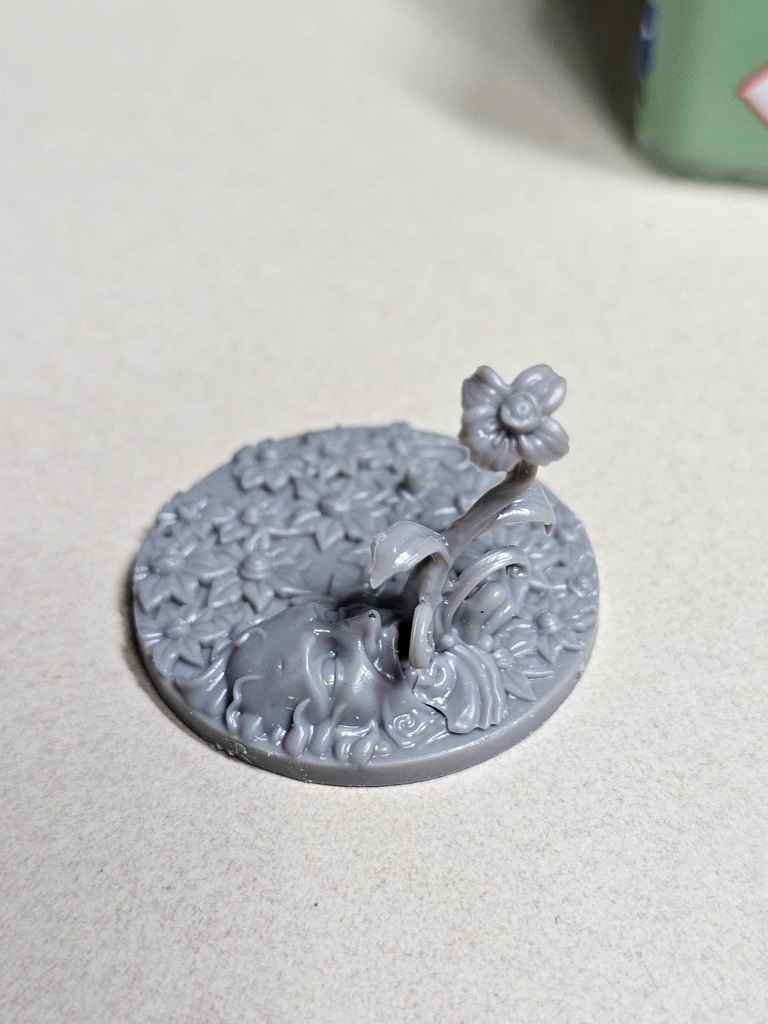
Voila!
Our lovely Gatherism Female is complete!


Leave a comment