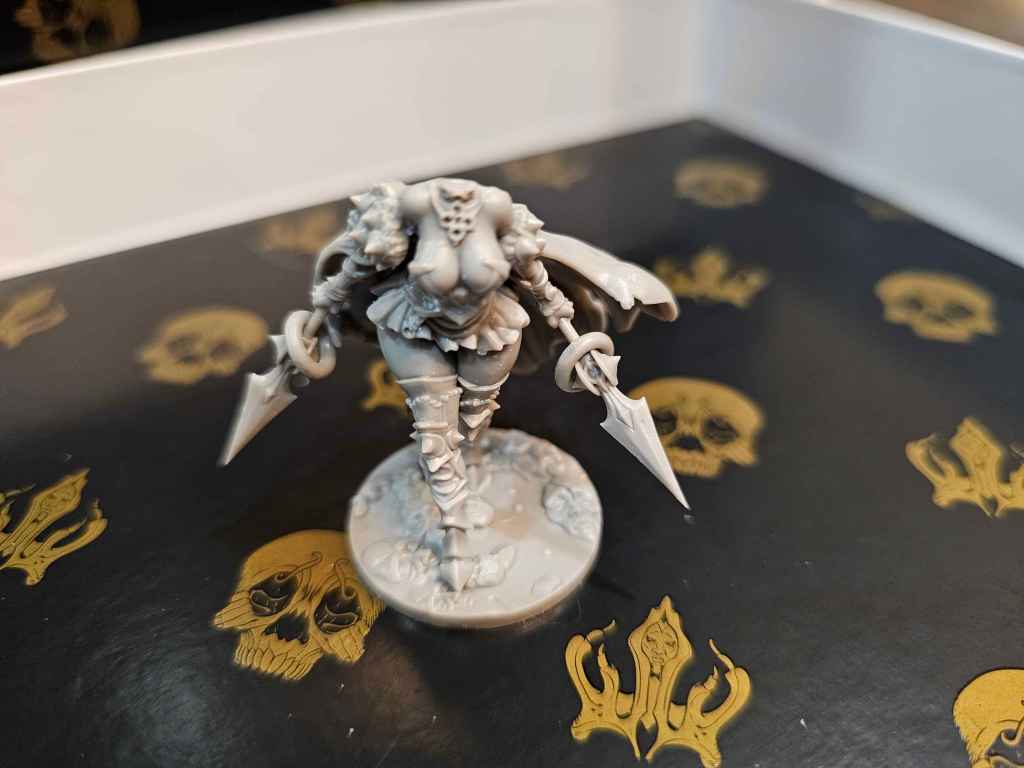
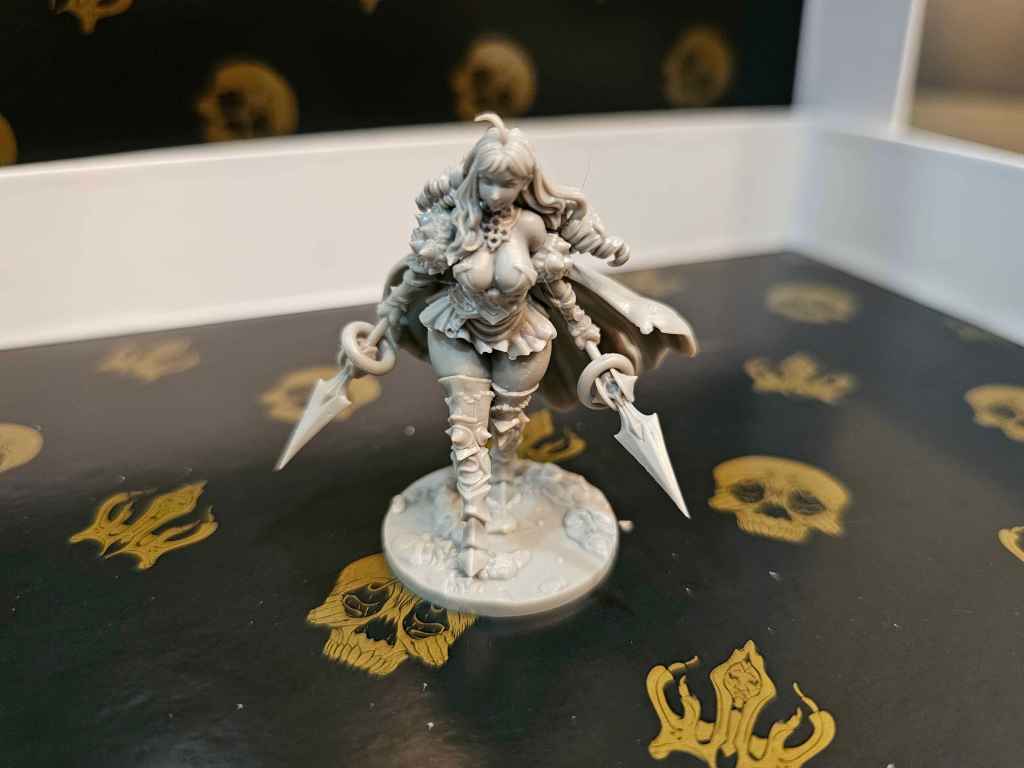
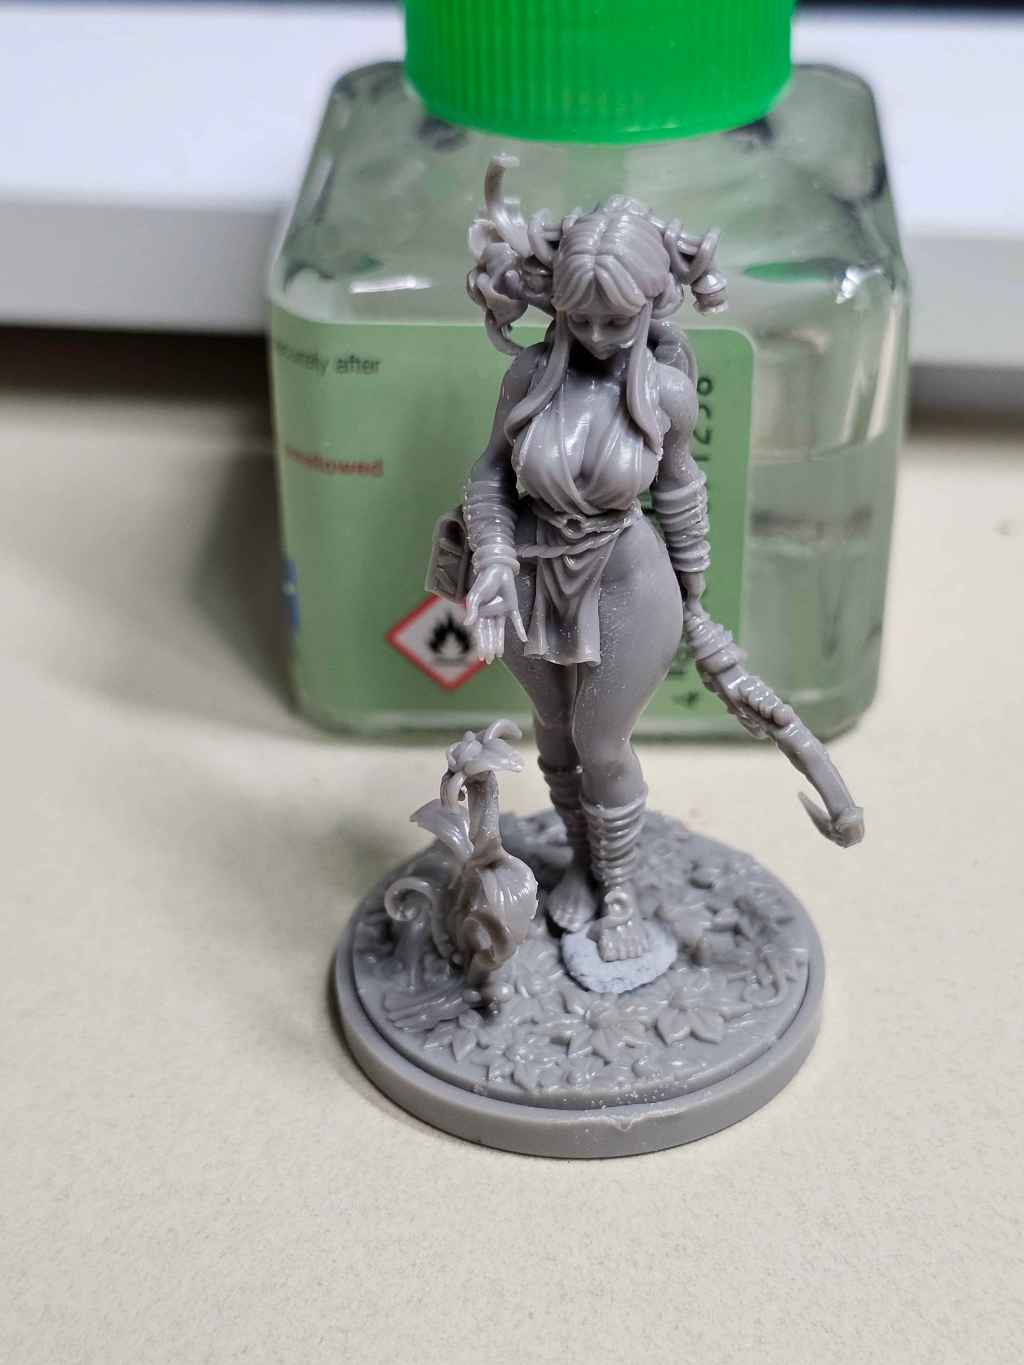
Lucy, my beloved and favorite of the starting female survivors.
The Sprue
I am absolutely terrible at tracking the numbers that go along with the models, so enjoy a few pictures of the sprue for those of you that are better at that sort of thing.
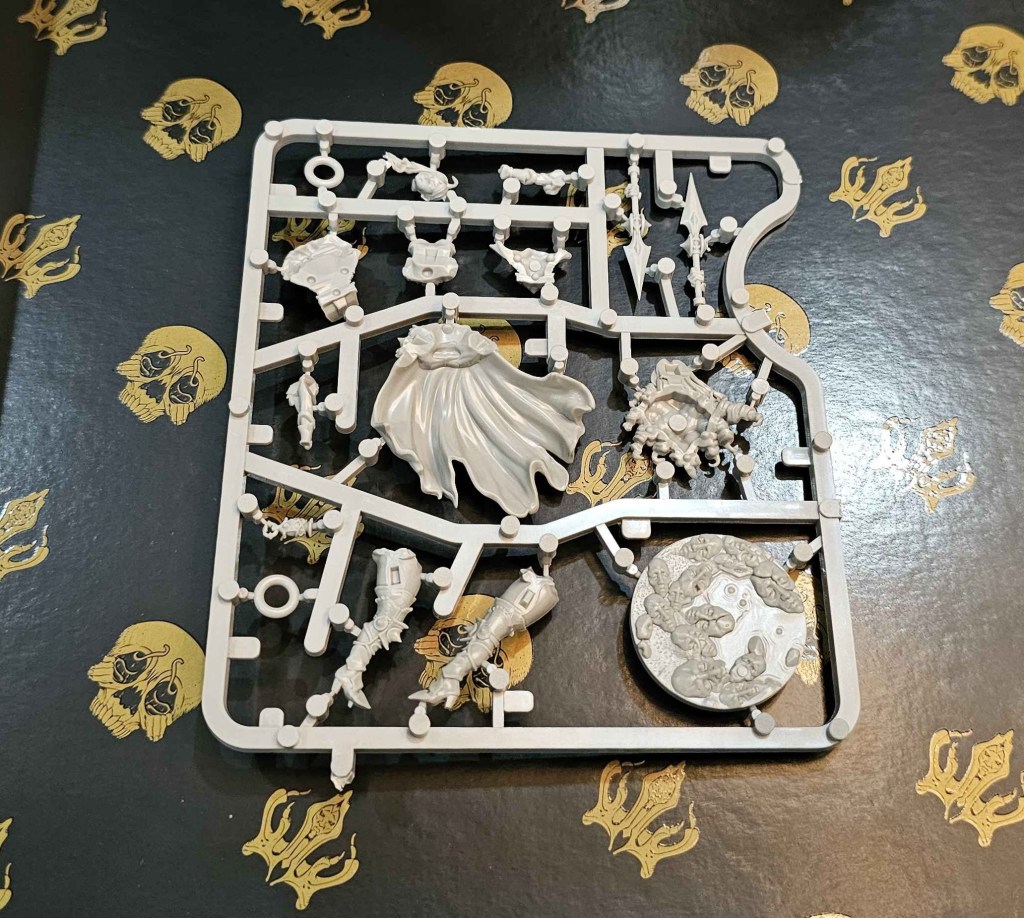
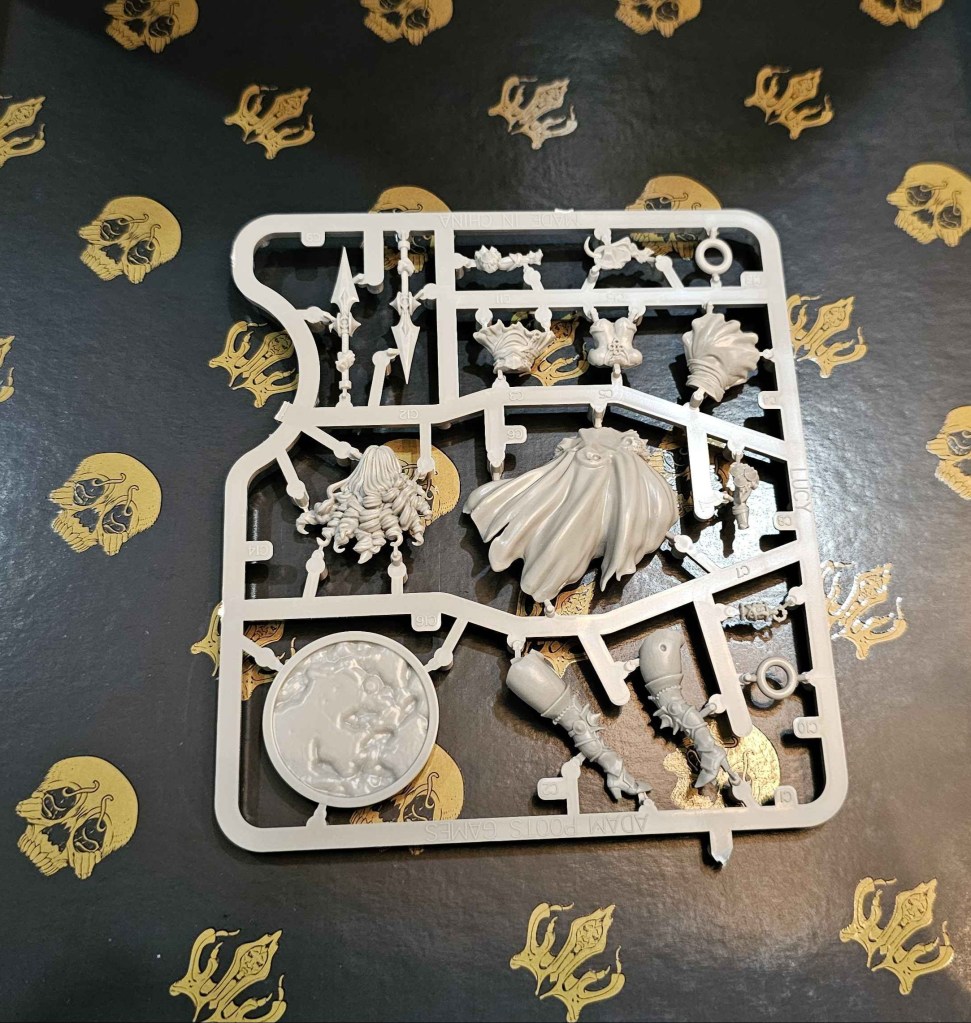
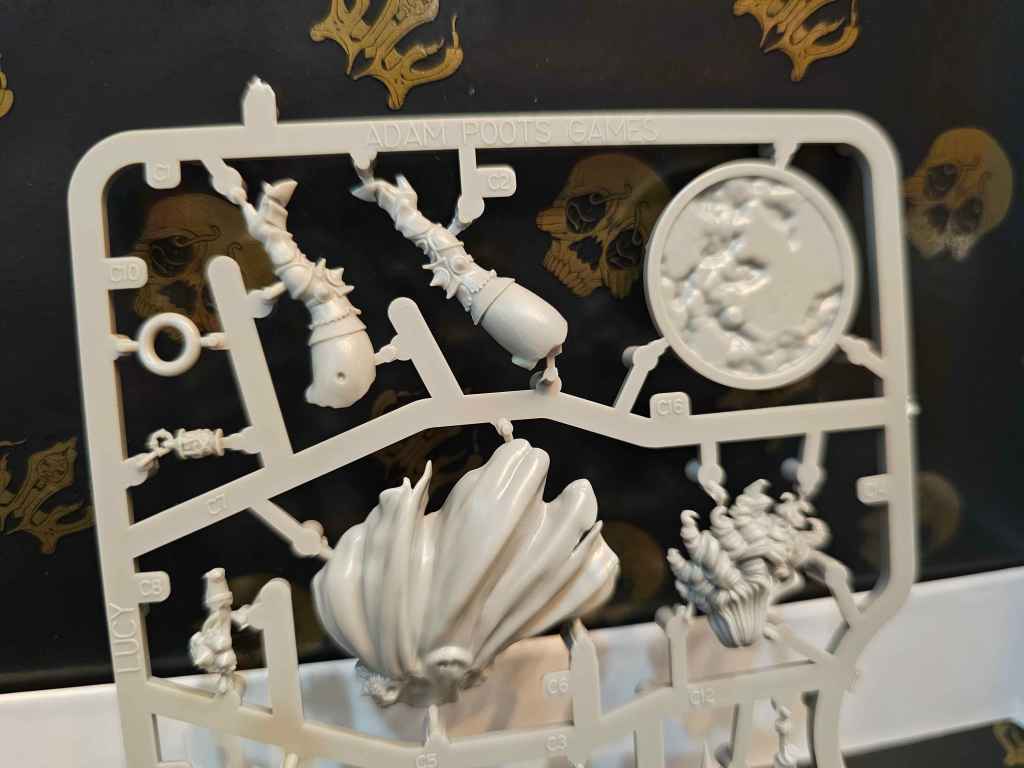
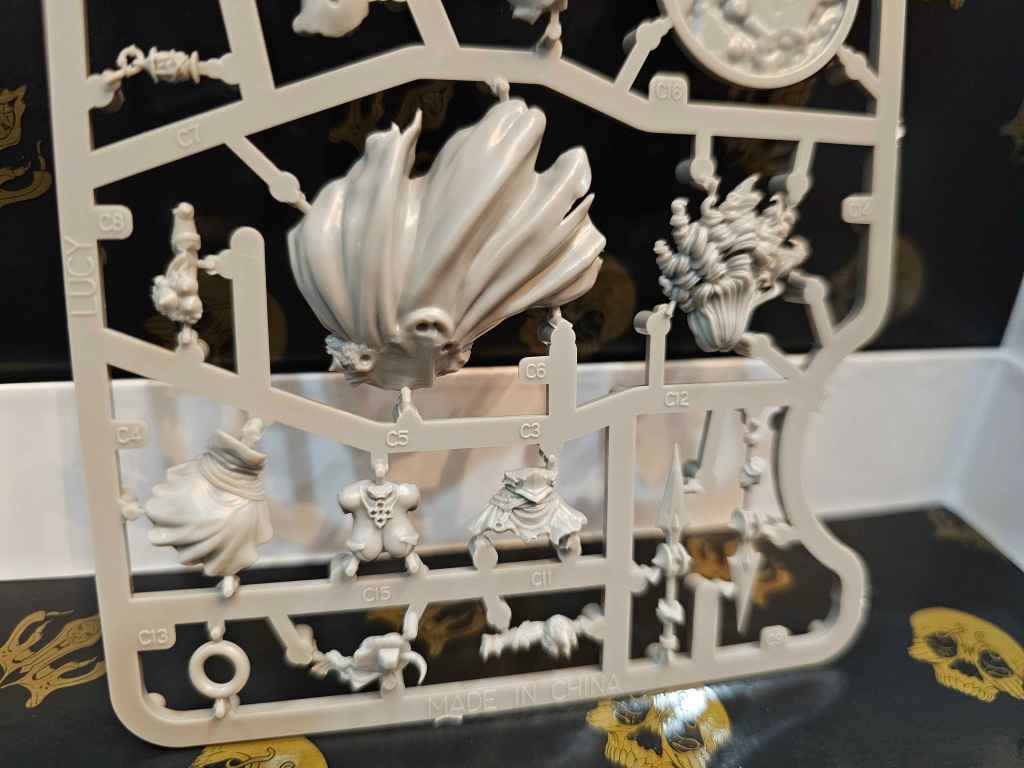
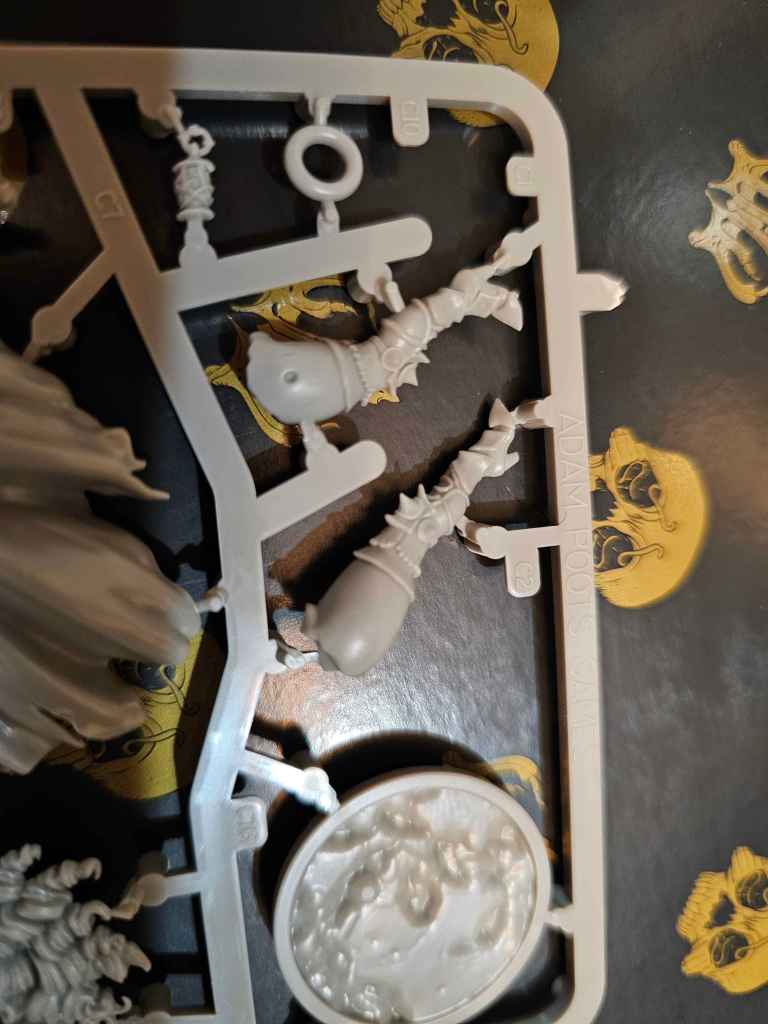
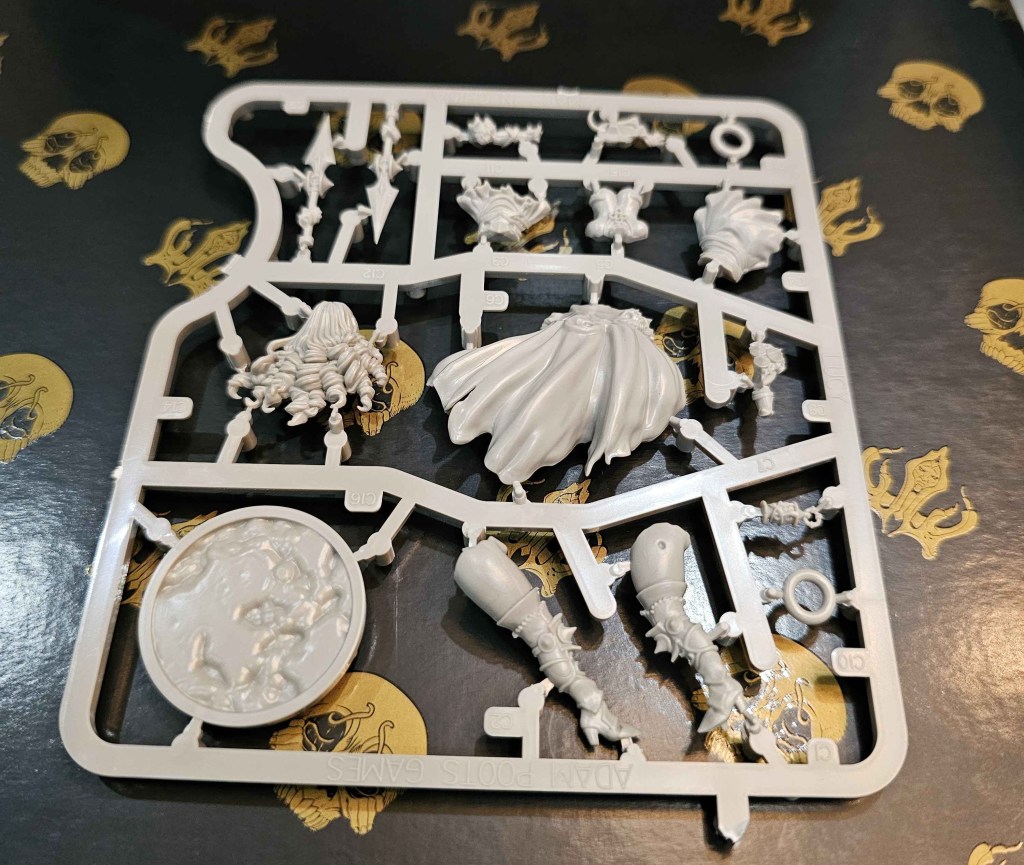
Got a good look? Beautiful, moving on.
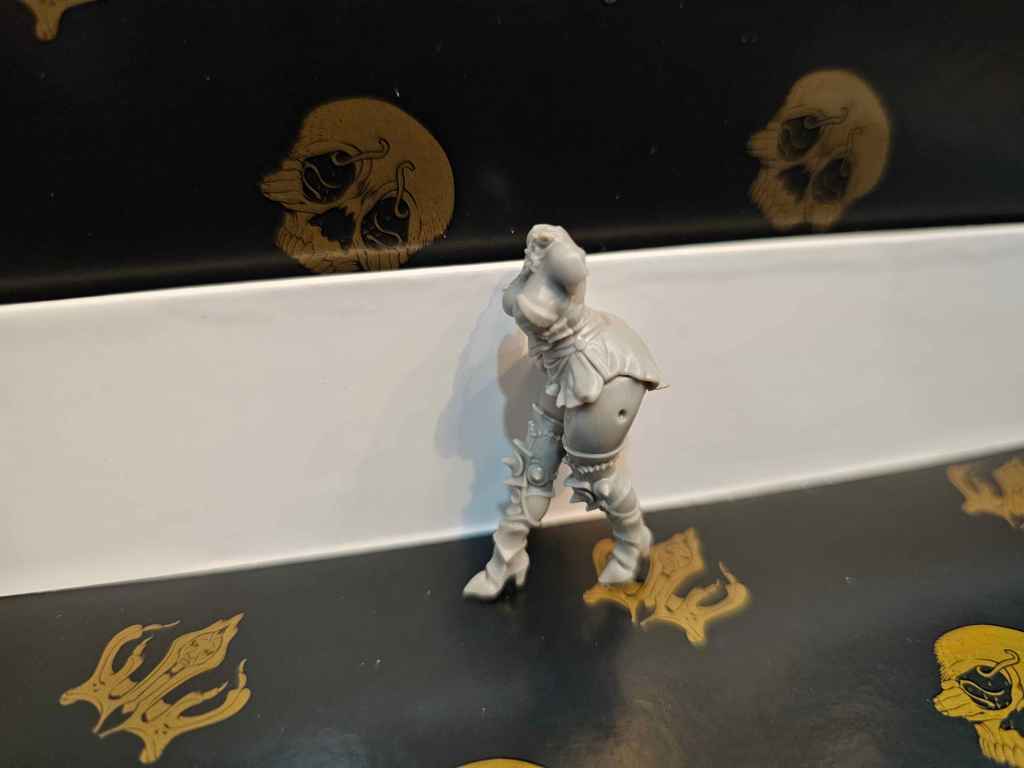
The Legs
Let’s start with the legs. The legs are pretty easy to attach to each other, and are fairly sturdy with standing on their own while they dry. I leaned it against the edge of the box for extra stability.

Note – see that circle? That’s where the hip lantern goes. I mentally skipped over it until the end. However, after you glue the legs together, I recommend gluing the hip lantern on at this point. I did not, and ultimately skipped putting it on since it was too difficult to do later.
The Skirt and Torso
Another pretty easy combo. Easy enough to fit and glue. I was okay with the skirt gap on the side, but if you’re wanting to gap fill, now might be a good time to put your filler of choice in and let dry.
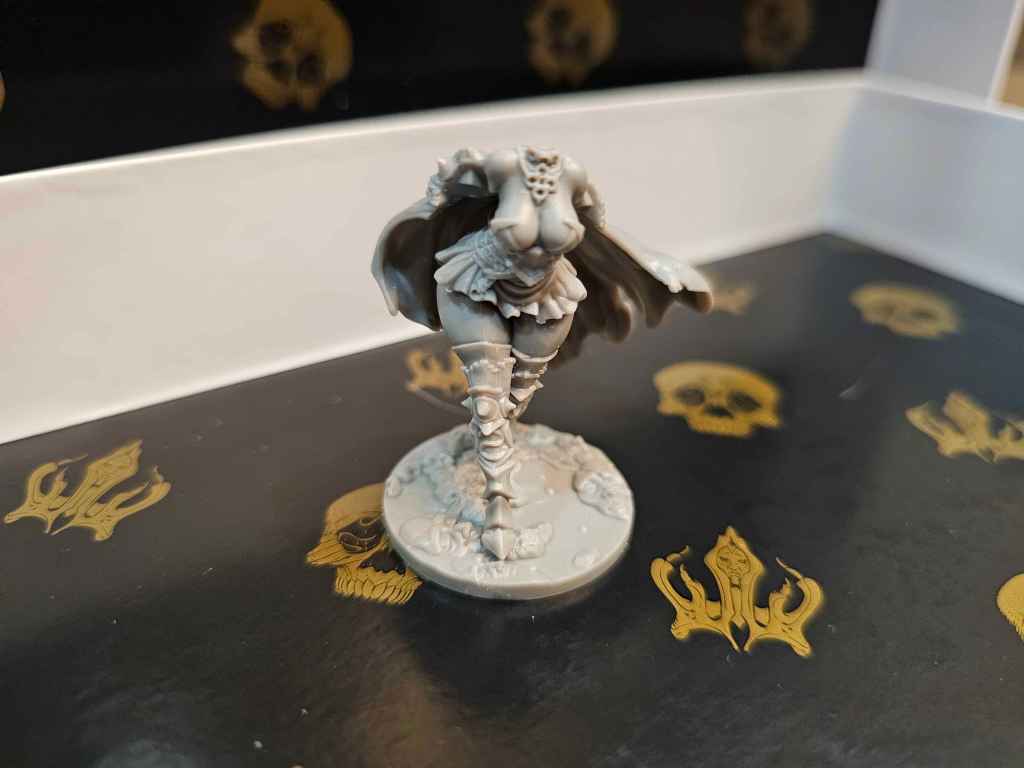
The Cloak
I attached the cloak at this point.
The Arms
Next, let’s give her a hand. And some forearms. And weapons, while we’re at it.
Heads Up!
Finally, there’s our beautiful girl’s face. Look at her ready to go on a Hunt and face anything that the bleak world of Kingdom Death might try to throw at her!
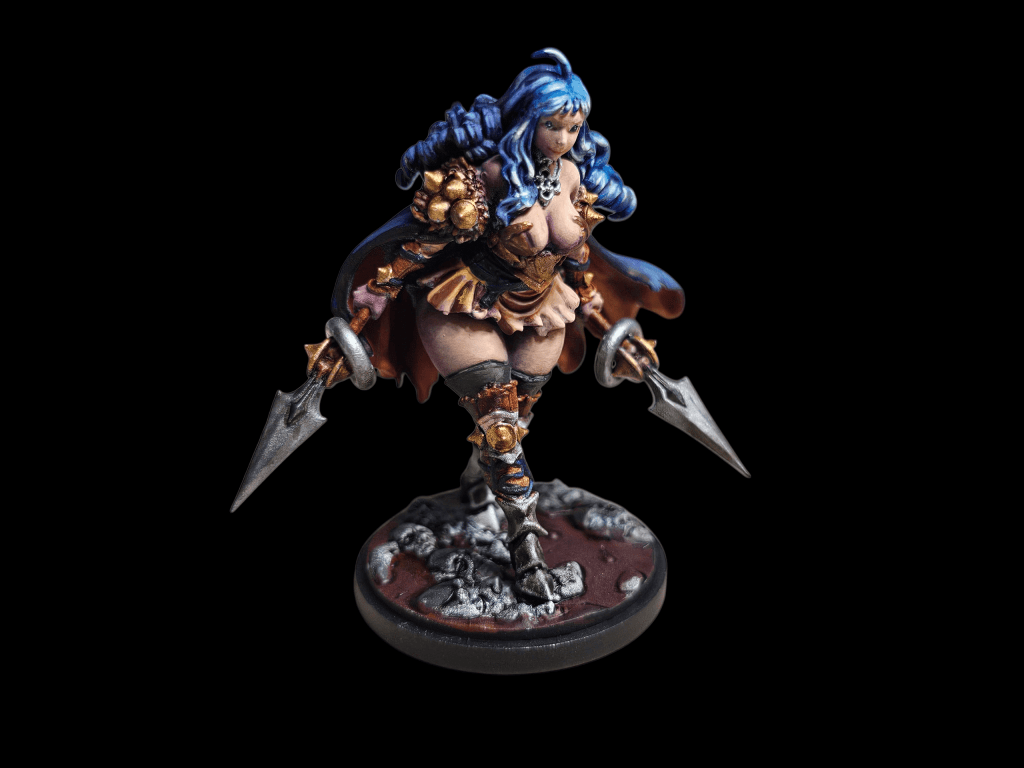
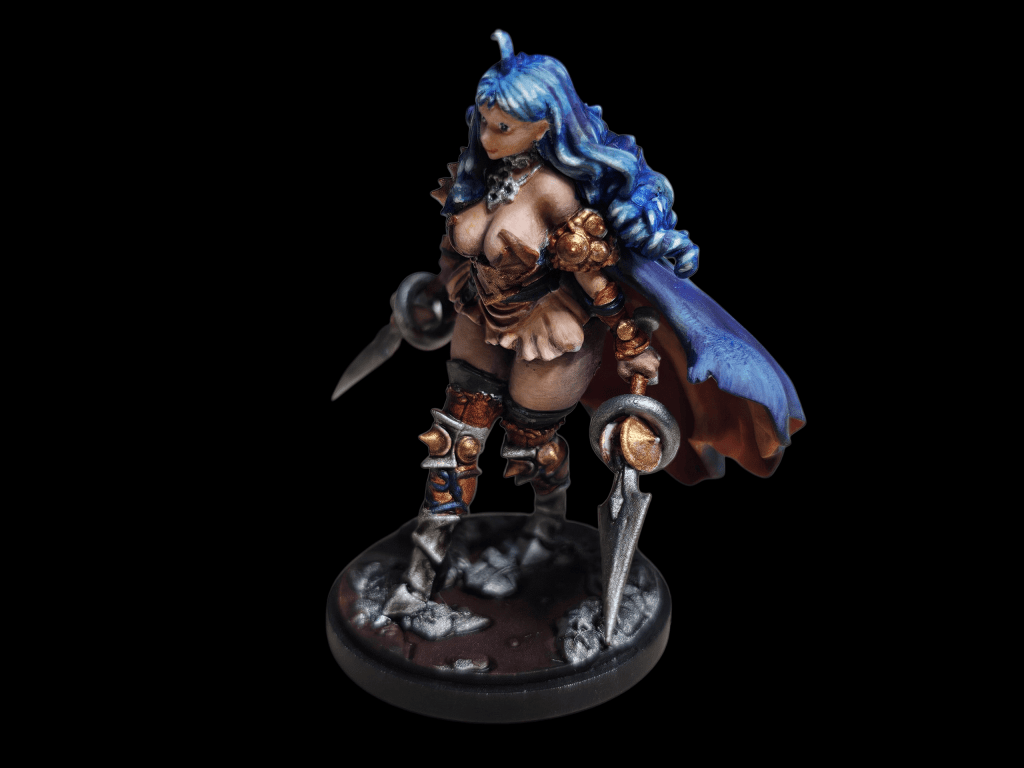
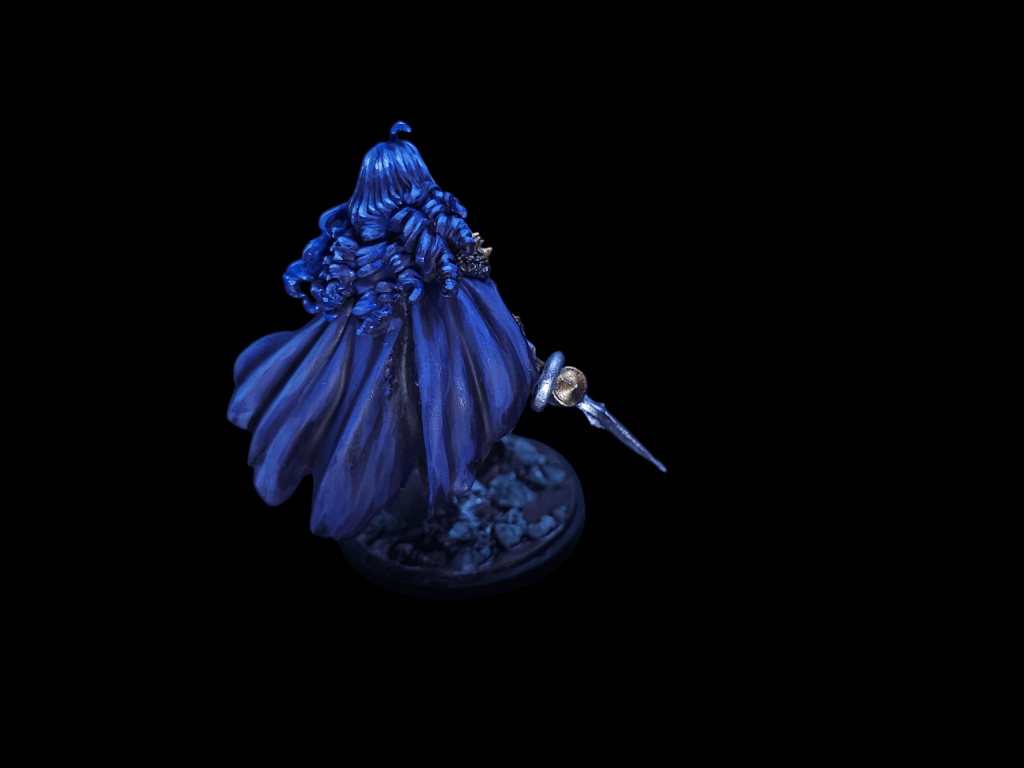
The Final Look
Below is how she looked after I painted her up. Admittedly, I was rushing near the end to finish her by the deadline for Zumikito’s contest, but I’m still pretty happy with how she turned out. A colleague, AGN, helped with advice for the hair highlights and the back of the hair is easily the best I’ve ever painted (thanks to him)!
Hope this is helpful! Let me know if you’d like more build guides or if you prefer to know the sprue numbers for the pieces. Thanks!


Leave a comment