Kingdom Death has absolutely gorgeous models, an unsettlingly cruel environment, and enough material to fill hundreds of hours of gameplay.
What it lacks, occasionally, is build guides to its models. So, I made my own.
All instances of “Right” and “Left” are referencing the model’s left and right.
Piece Inventory
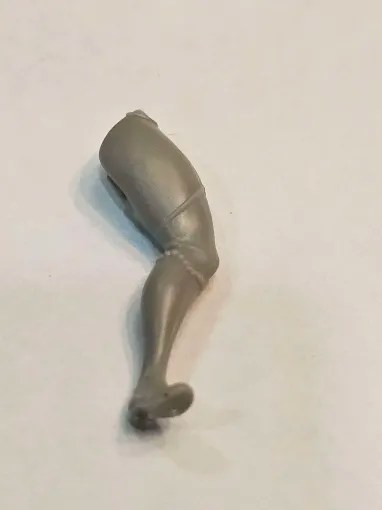
- A2: Right Leg
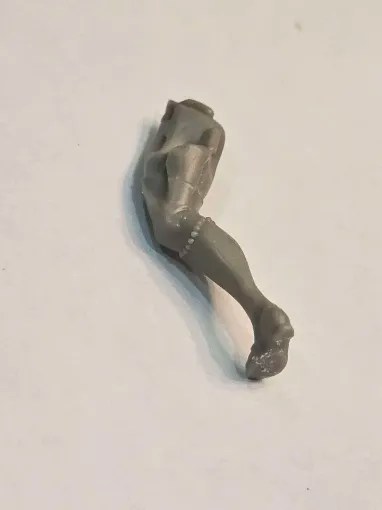
- A3: Left Leg
- A4: Front Torso & Skirt
- A5: Chest/Bosom
- A6: Right Arm
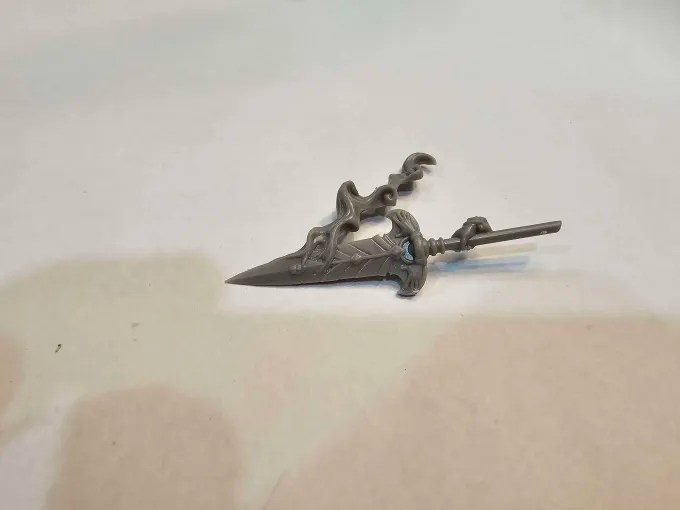
- A7: Spear
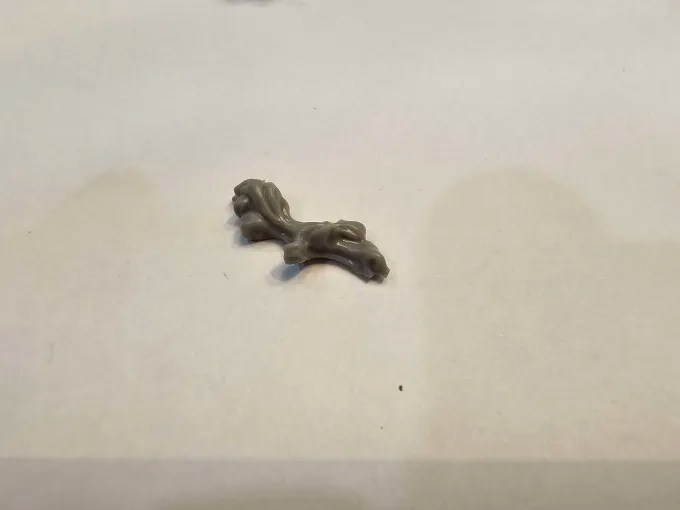
- A8: Smoke
- A9: Hair (Base Layer)
- A10: Hair (Top Layer)
- A11: Right Braid
- A12: Face
- A13: Left Braid (Hellspawn)
- A14: Left Arm
- A15: Hair (With Spear Hilt)
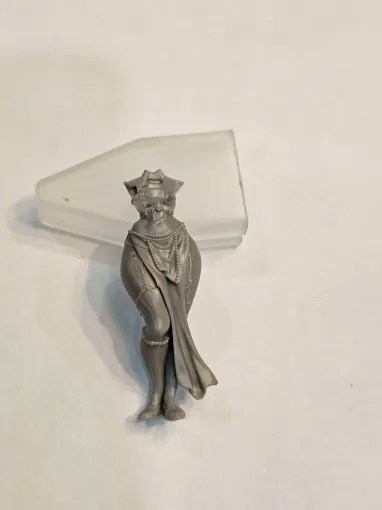
Step 1 – Legs and Back
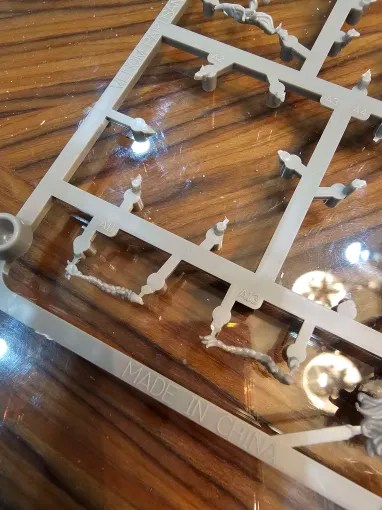
For this first step, you will clip out piece A1 (Back Torso & Skirt), A2 (Right Leg), and A3 (Left Leg). Images of each piece are shown below.
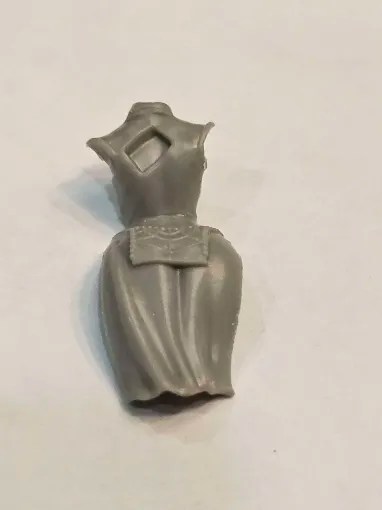

Piece A1 has indents that the legs will fit into, leaving you with the following:
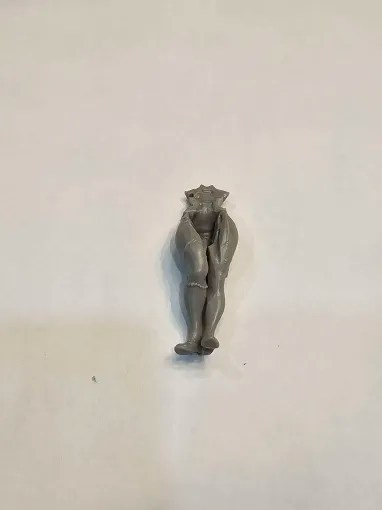
As that dries, you will want to cut out piece A4 (Front Torso & Skirt), which will fit into the front indent of the legs.
Step 2 – Chest/Bosom
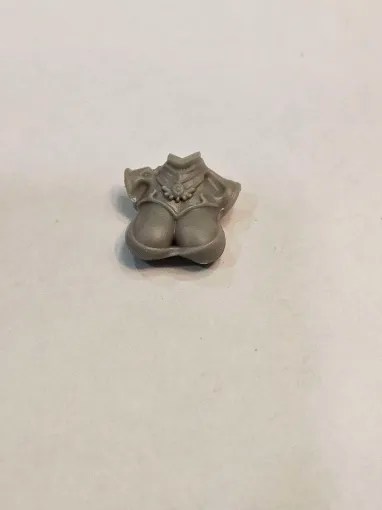
This step is so easy that I forgot to snag a picture of it, but it clicks right into place on the upper front torso. You’ll see a picture when I go to the arms.
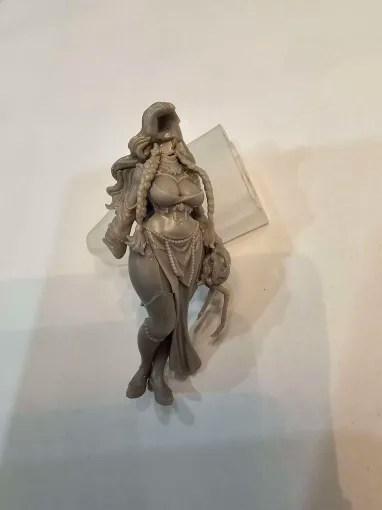
Step 3 – Hair, face & Braids (RECOMMENDED BEFORE ARMS).
Time for the hair! There are 3 pieces of hair plus 2 braids. I recommend doing it in the order of: A9 (Base Layer), A10 (Top Layer), A13 (Left Braid), A11 (Right Braid), A15 (Hair with Hilt), then A12 (Face). Seems complex, but let me explain below.
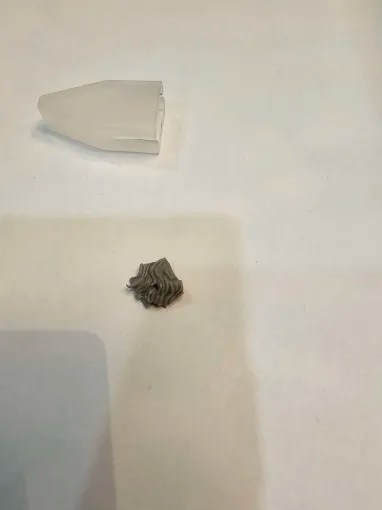
The base, or A9 the Hair (Base), fits into the square indent on Ritika’s back.
A10, the Hair ( Top Layer) of hair fits into the base layer.

And next…. the braids.
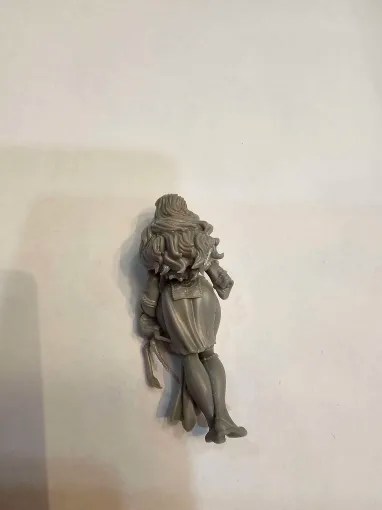
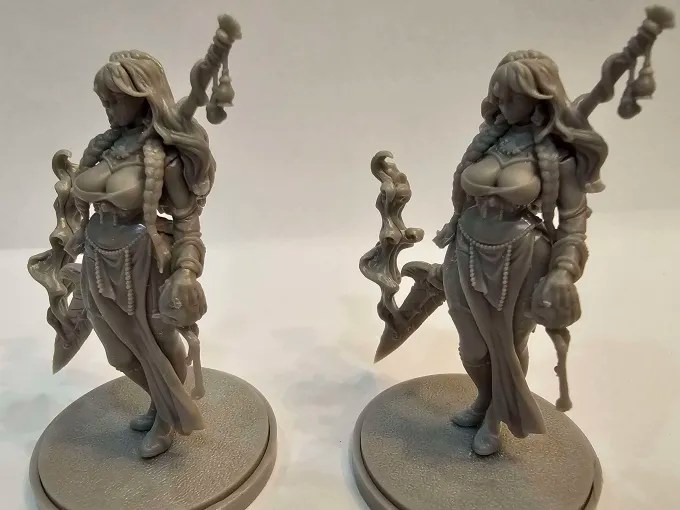
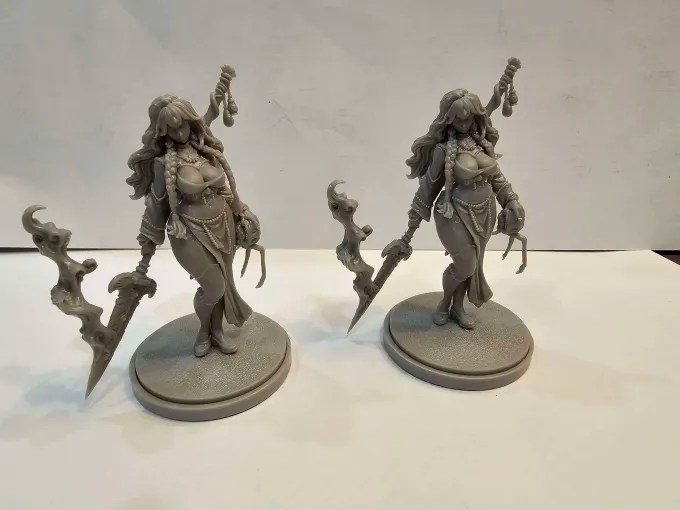
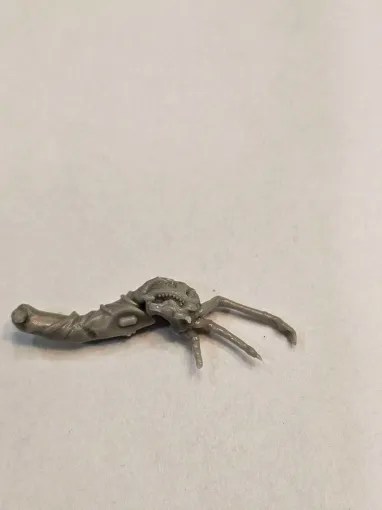
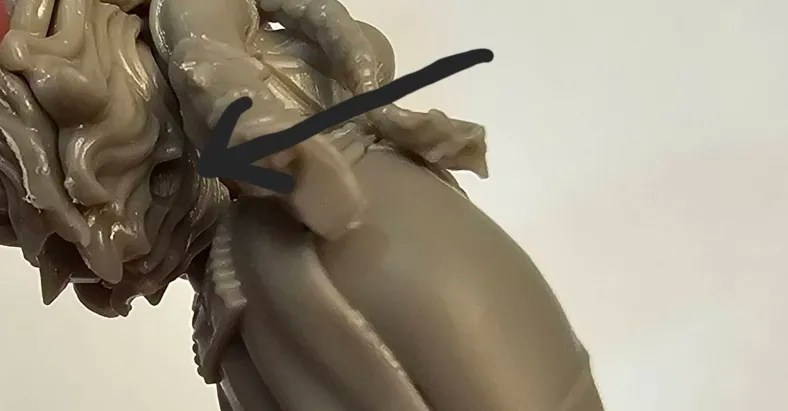
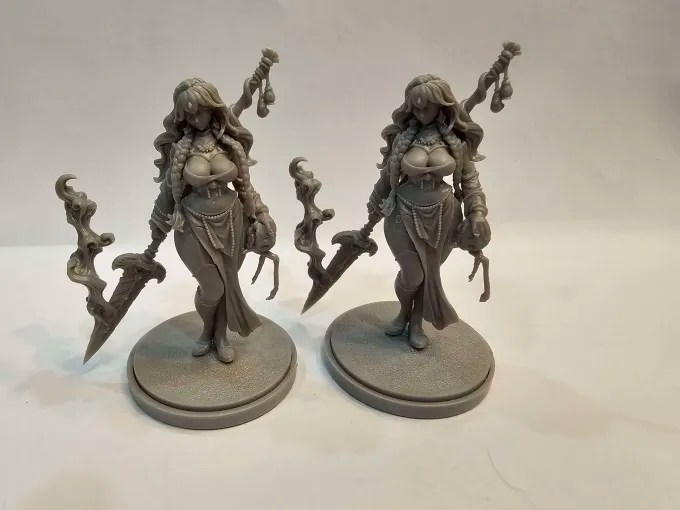
Now, bear with me here with the Left Braid, which I non-affectionately called the Hellspawn braid between curses. This took some finagling, and since I had two Ritikas, I ended up testing two methods. I recommend doing the braid UNDER the left arm, and I will explain why. I’ve also included a picture of how both look on the model at the end.
First off, looking at the art card, it looks like the left braid should go under the arm.

HOWEVER, looking at the assembled model on the store page, the braid looks like it stays above the arm.

Each braid has a small tab that fits into the indents on the chest. My first time around, I did the arms first, and trying to get the tab/indent to line up afterwards was an experience akin to assembling the hands on the Phoenix. If ‘arms then braids’ is the intended method, whoever thought that up is a sadist that the rest of us should fear. It causes a gap, the flat side of the braid turns towards the front, and it is just less aesthetically pleasing than the alternative.

- Pros of Under Braid: Looks nicer (in my opinion), fits flush on the shoulder.
- Cons of Under Braid: This does cause a small gap between the left arm tab that is intended to go in the thigh.
- Pros of Over Braid: The left arm fits flush with the thigh indent.
- Cons of Under Braid: Does not fit flush on shoulder.
Choose your poison.
The right braid, at least, is simple and slides right into place. Thank you, braid.
Back to the rest of the hair! Next comes A15, the Hair (with Spear Hilt).
This piece lines up fairly well with the rest of the hair.
A12, Ritika’s lovely face, goes next.
Step 4 – Arms & Spear
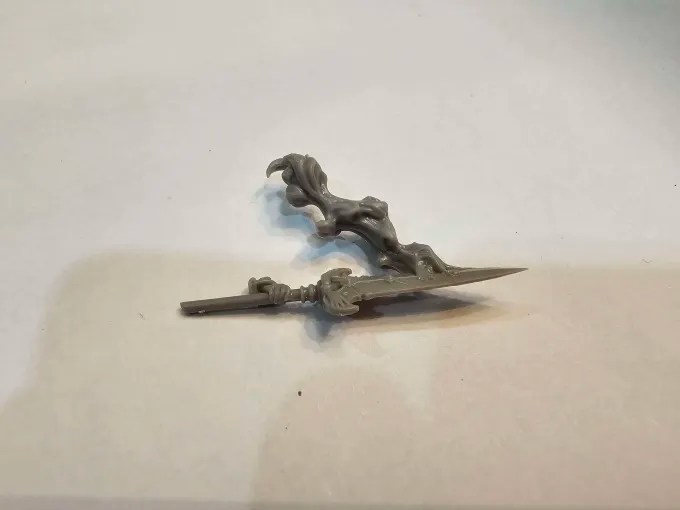
We can start with the spear and its corresponding smoke to let that dry while we assemble to arms. These two steps are also interchangeable, so start with either!
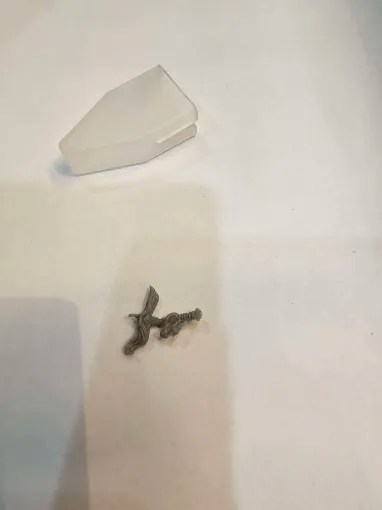
A7 (Spear) and A8 (Smoke) are pretty simple to fit together. Match the tabs and indents, and you’re golden.

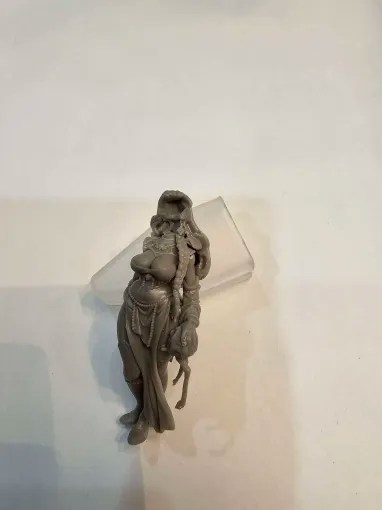
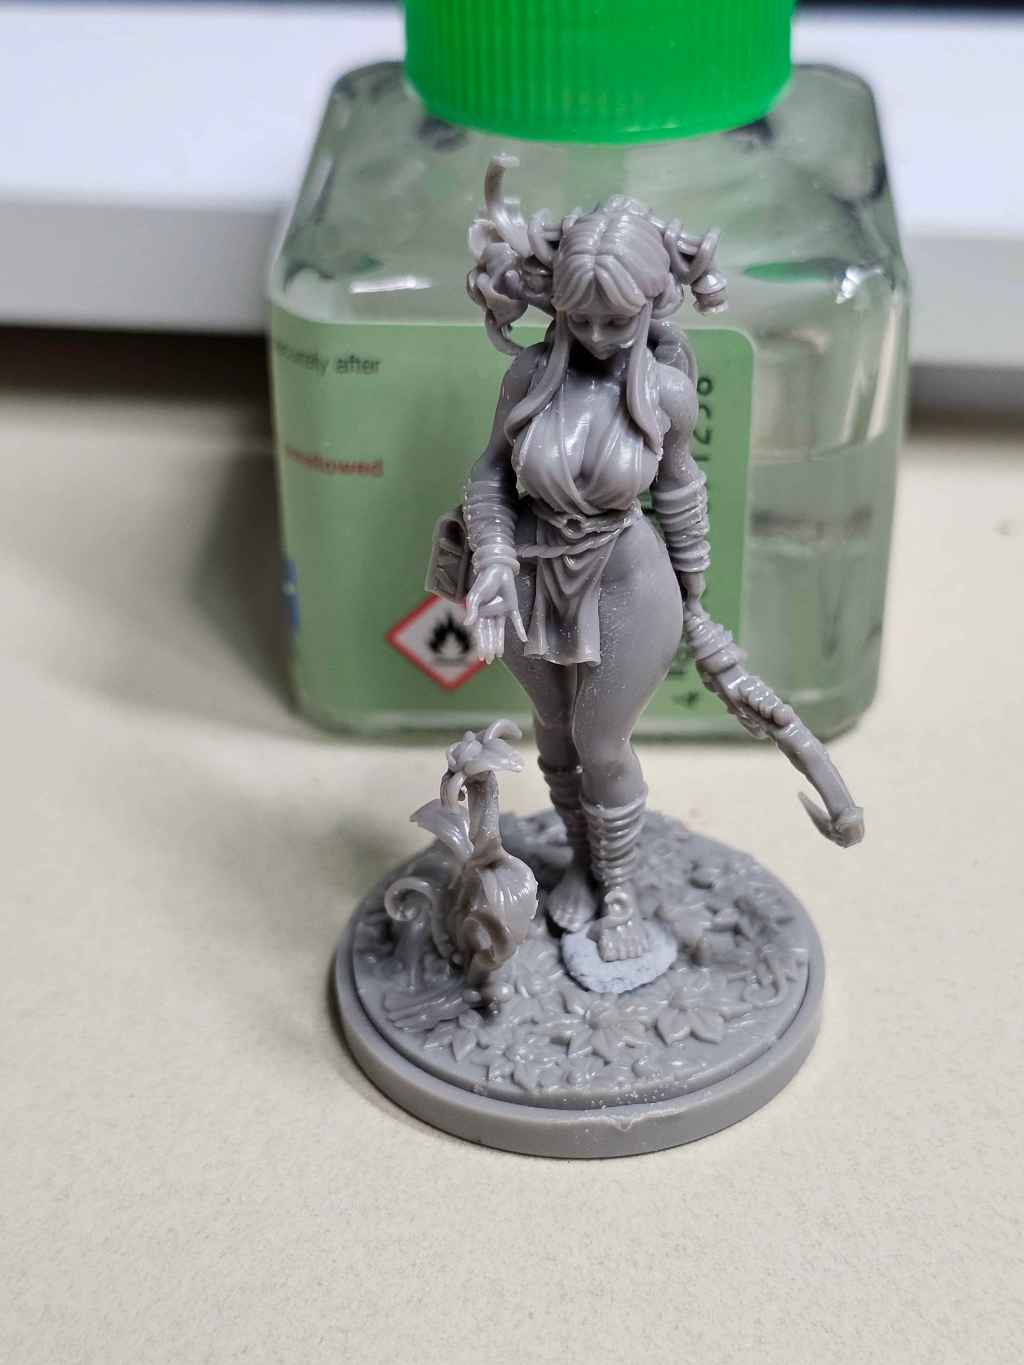
Arms time! For A14, the left arm, there is an indent in the thigh that aligns with the tab on the arm near the wrist.
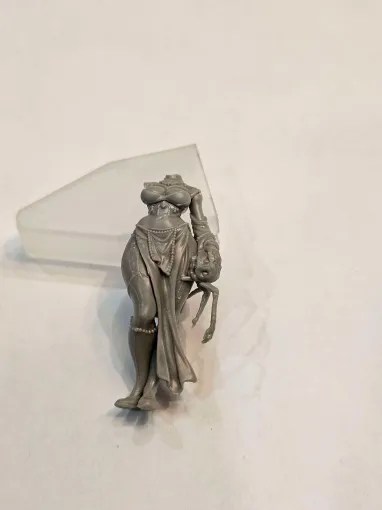
Next, A6, the Right Arm, goes into the right shoulder. For this one, it will be angled slightly towards the back of the figure, as shown in the image.
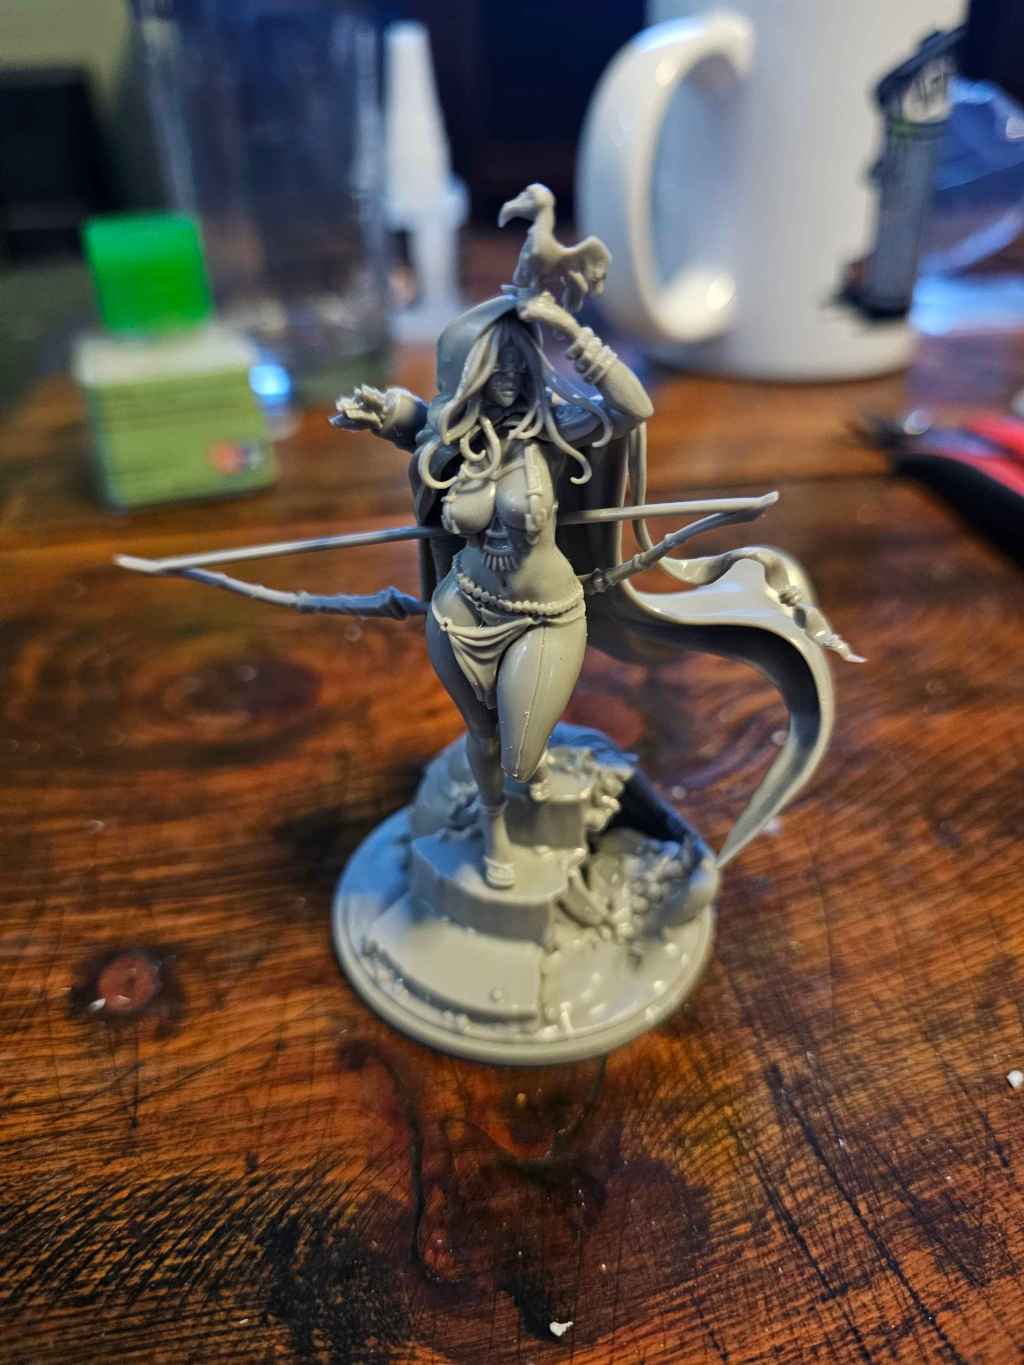
For attaching the spear hand to the arm, look at the hair. See that small hole?
Place the body of the spear into the hole, and line up the wrist with the arm. The spear will be pointing sharply downward, forming a straight line from the hilt to the spear tip itself.
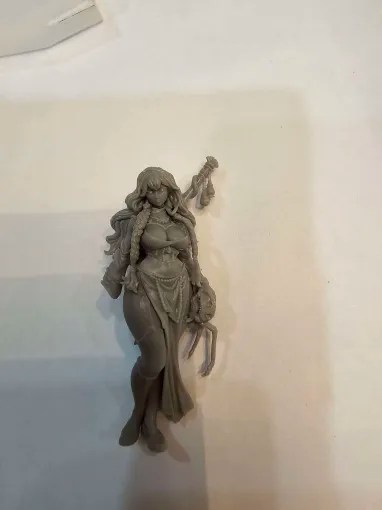
And, there we have it, a Poison Partisan Poised to Parlay.


Leave a comment